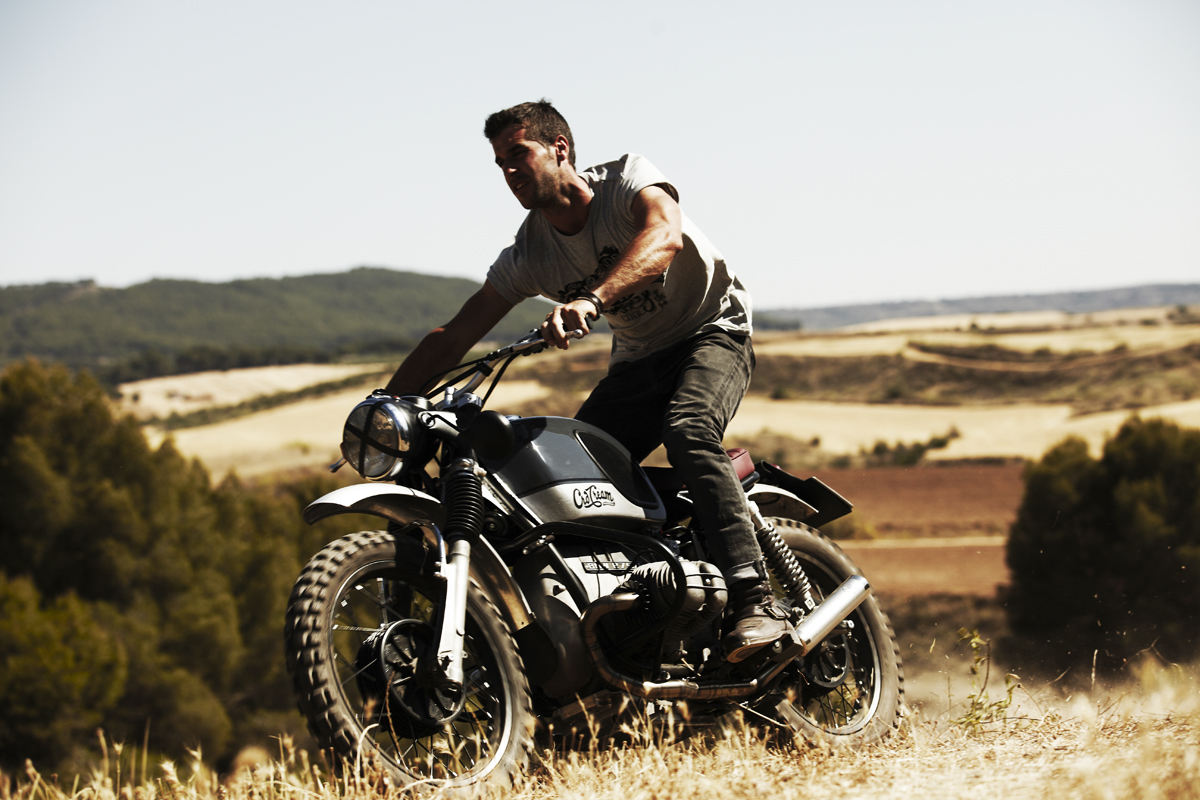
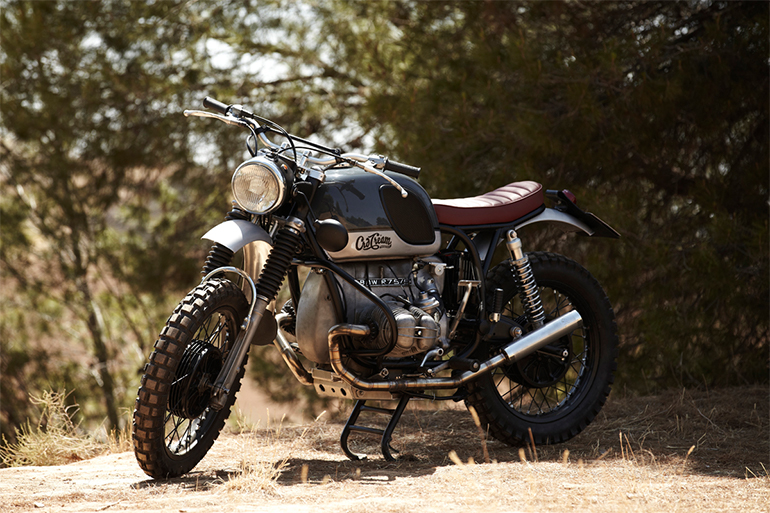
In this post of the Cafe Racer Dreams blog we’re going to make a little guide on how to build a cafe racer bike
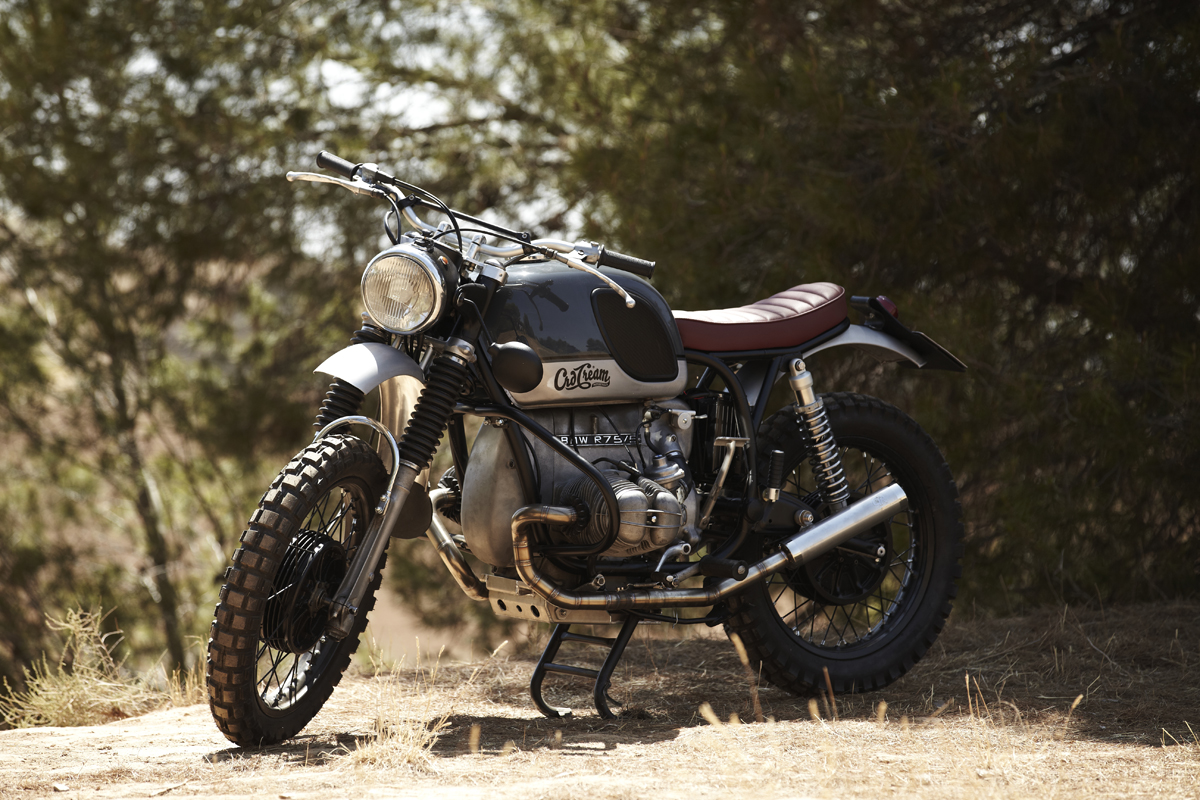
The starting point of the whole process is going to be this beautiful BMW R75/5, with it we are going to build CRD14 “The Challenge”.
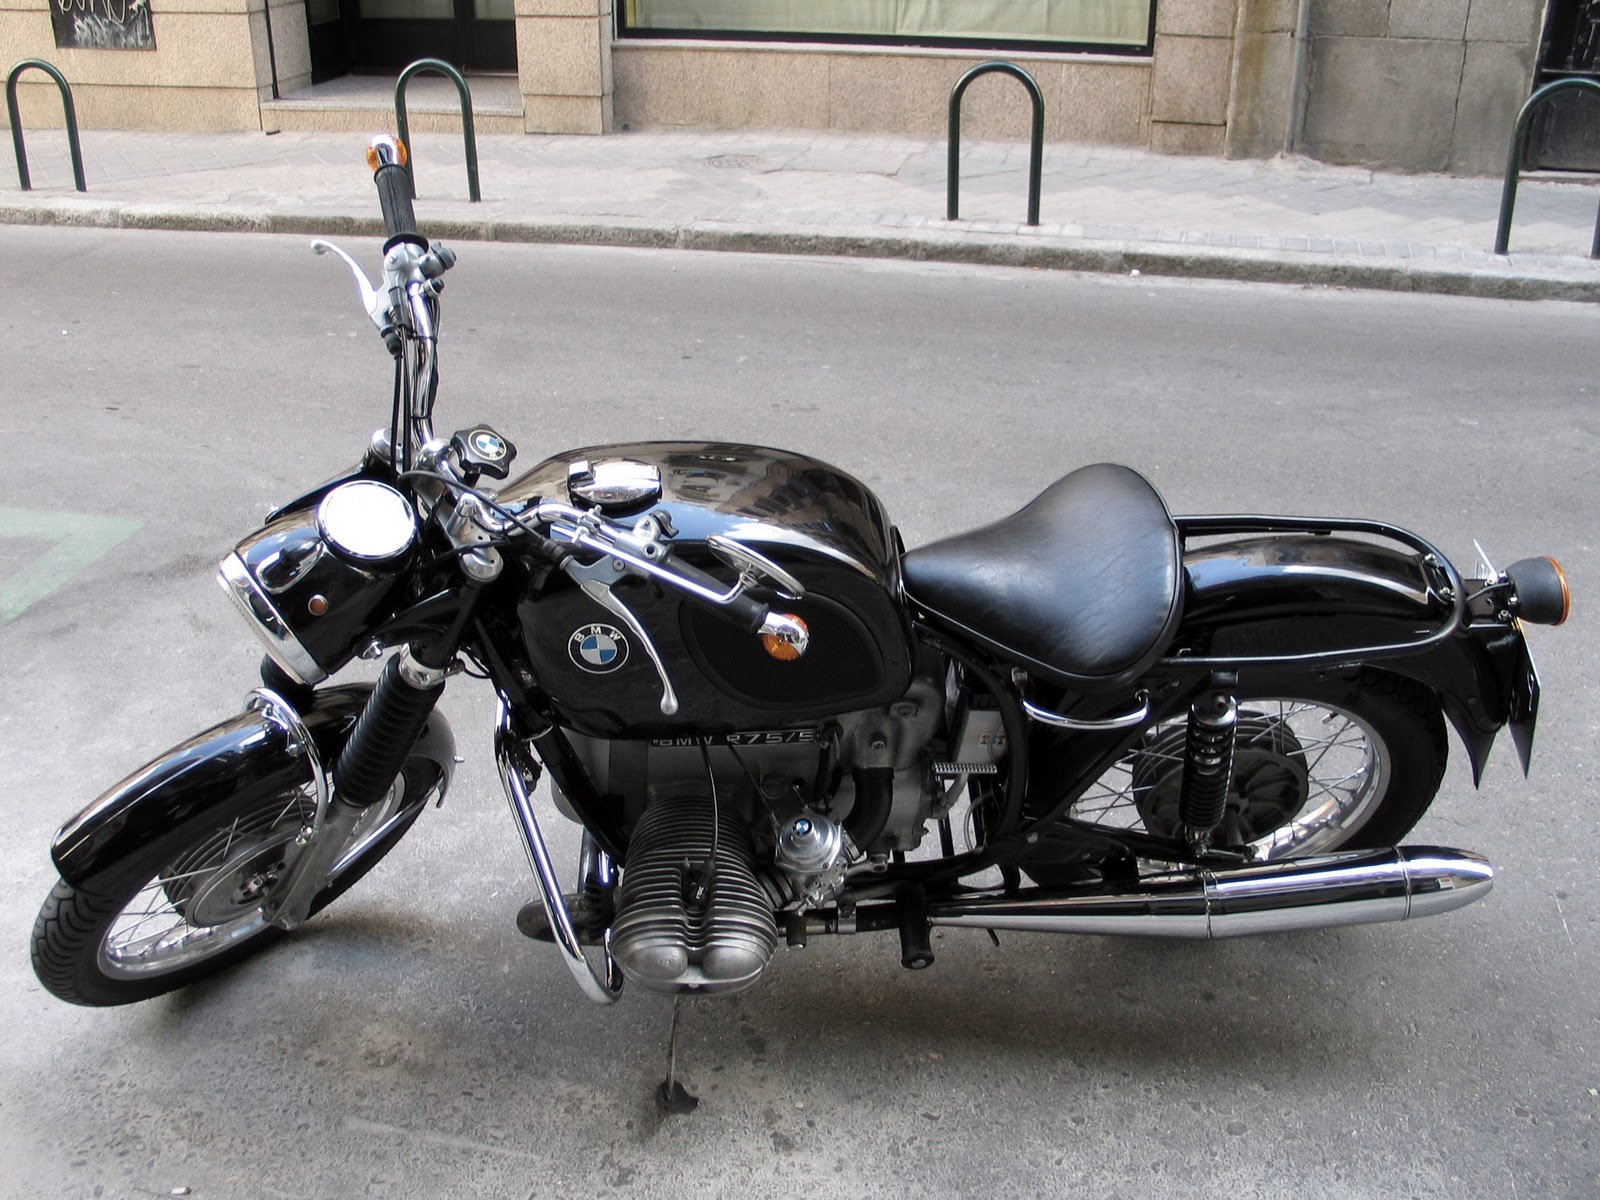
The first thing is to dismantle the donor bike and get rid of everything that will no longer be a part of this beautiful BMW.
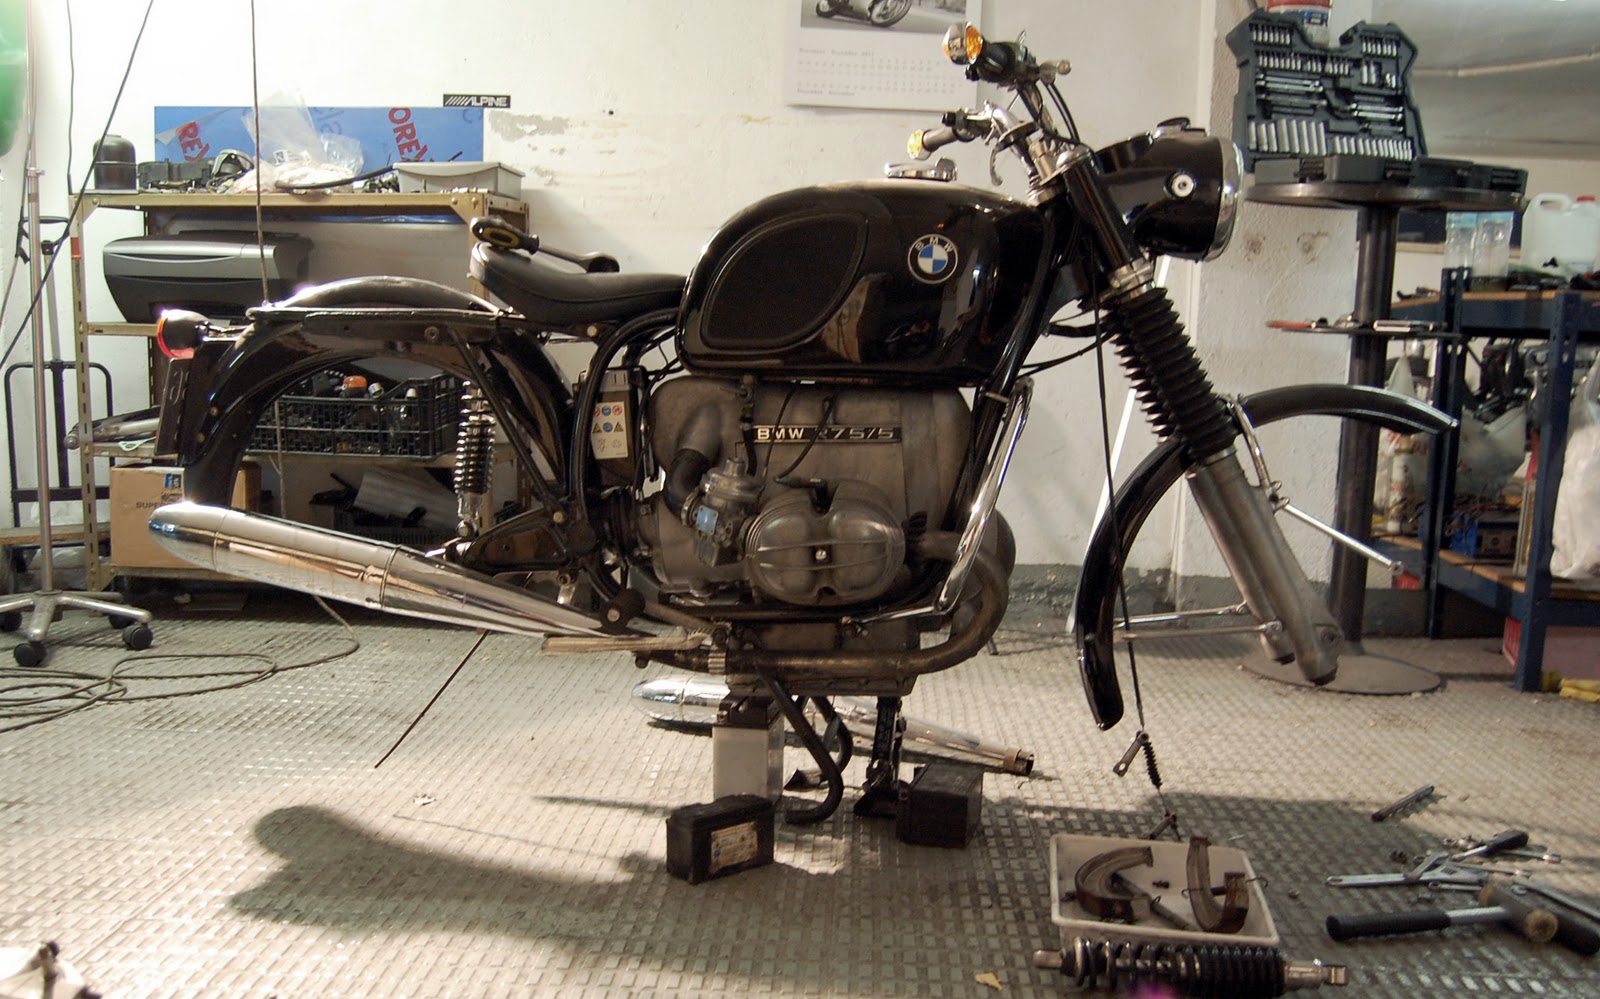
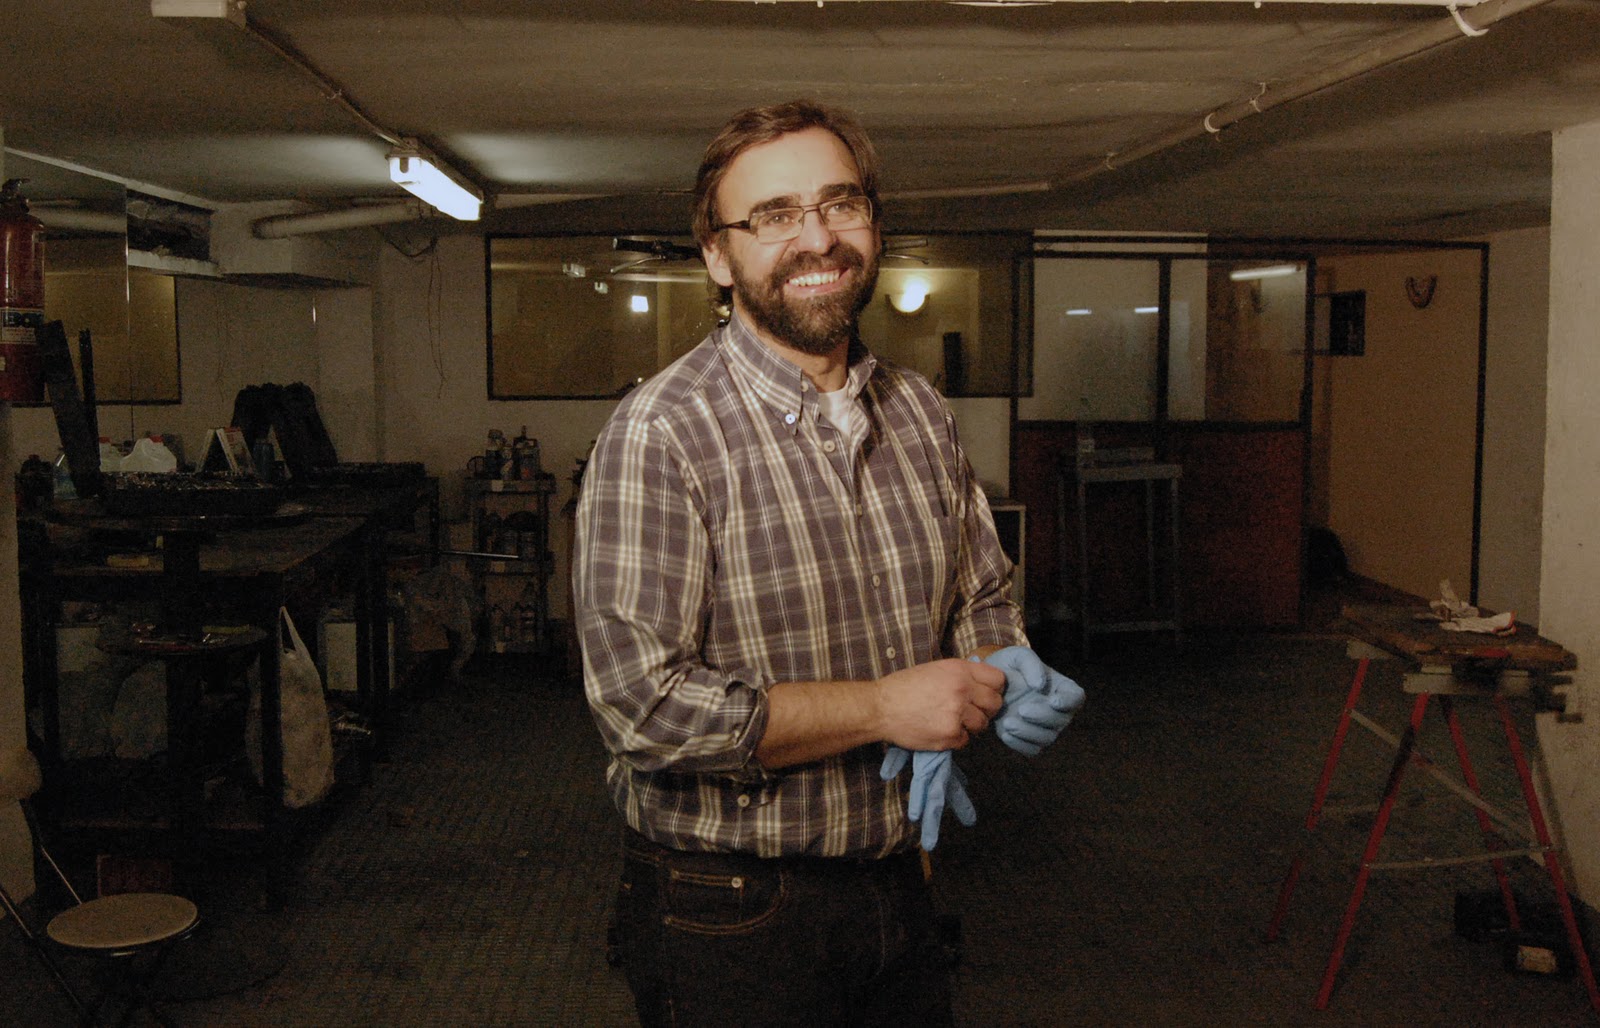
The man who will guide us through the whole process is Javier Minchán, he is one of the people who knows most about classic BMWs in Spain. He joined Cafe Racer Dreams to help with CRD14.
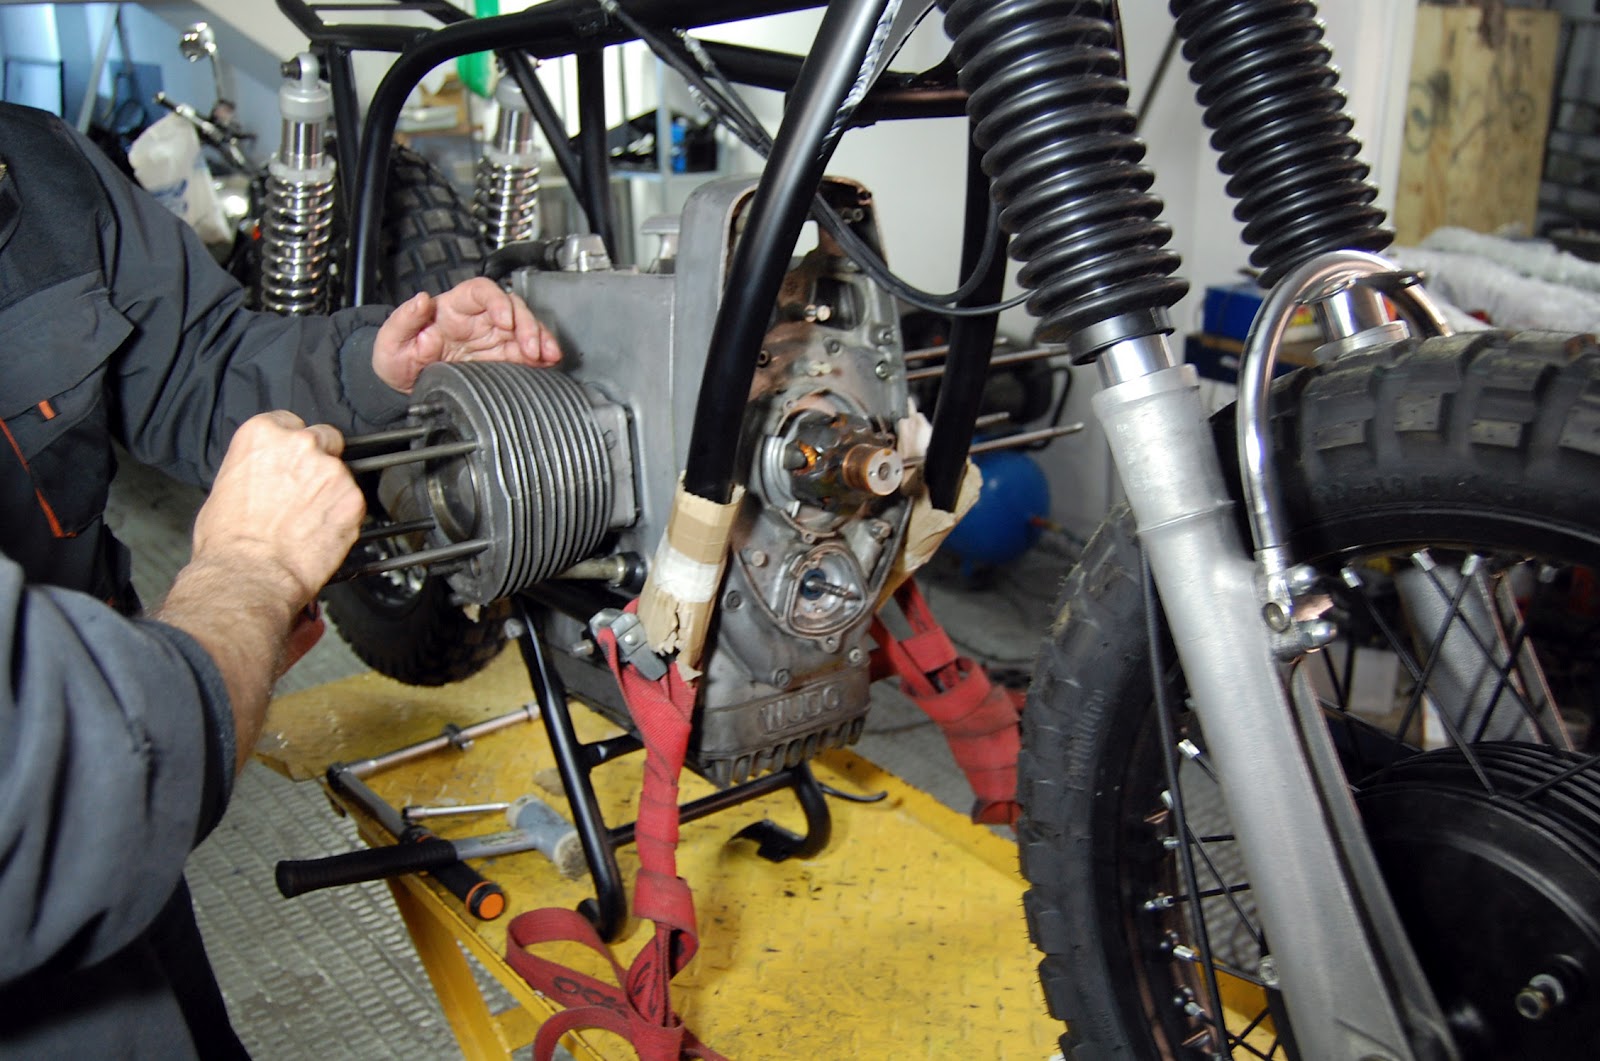
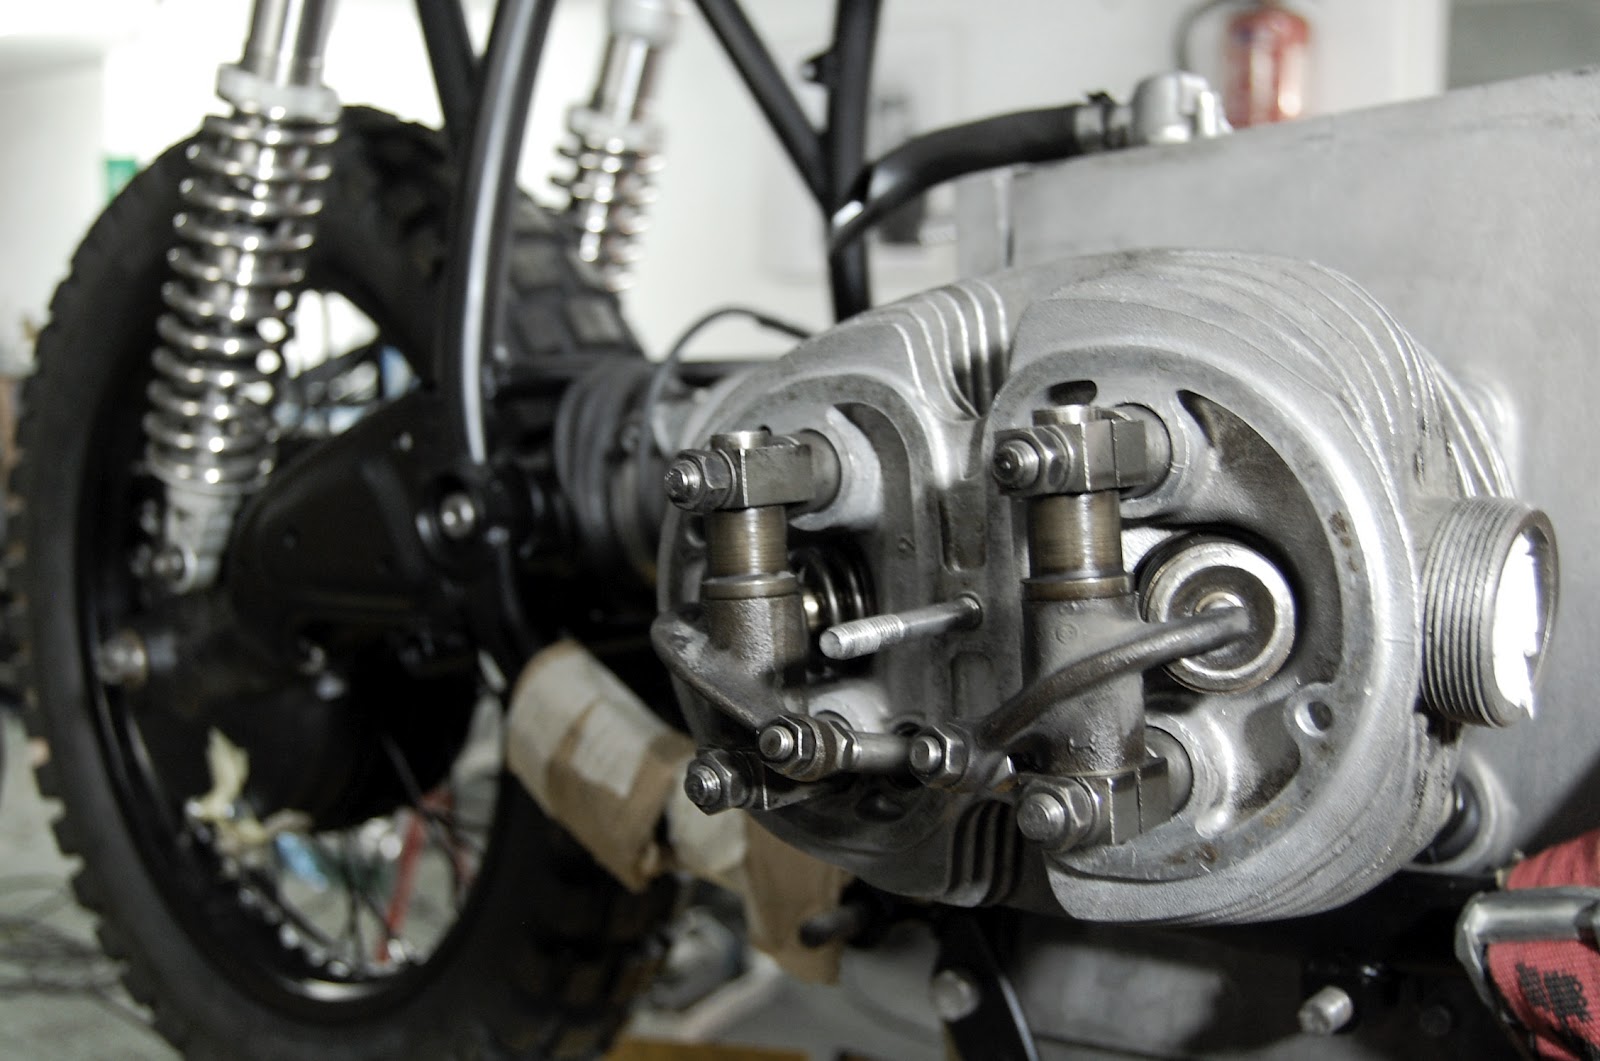
The engine of the bike was in an impeccable state, it was sure tuned not long ago. Nevertheless, both the cylinders and cylinder heads were taken to be measured in case it would be necessary to replace the pistons.
The electrical system and the clutch were also completely new.
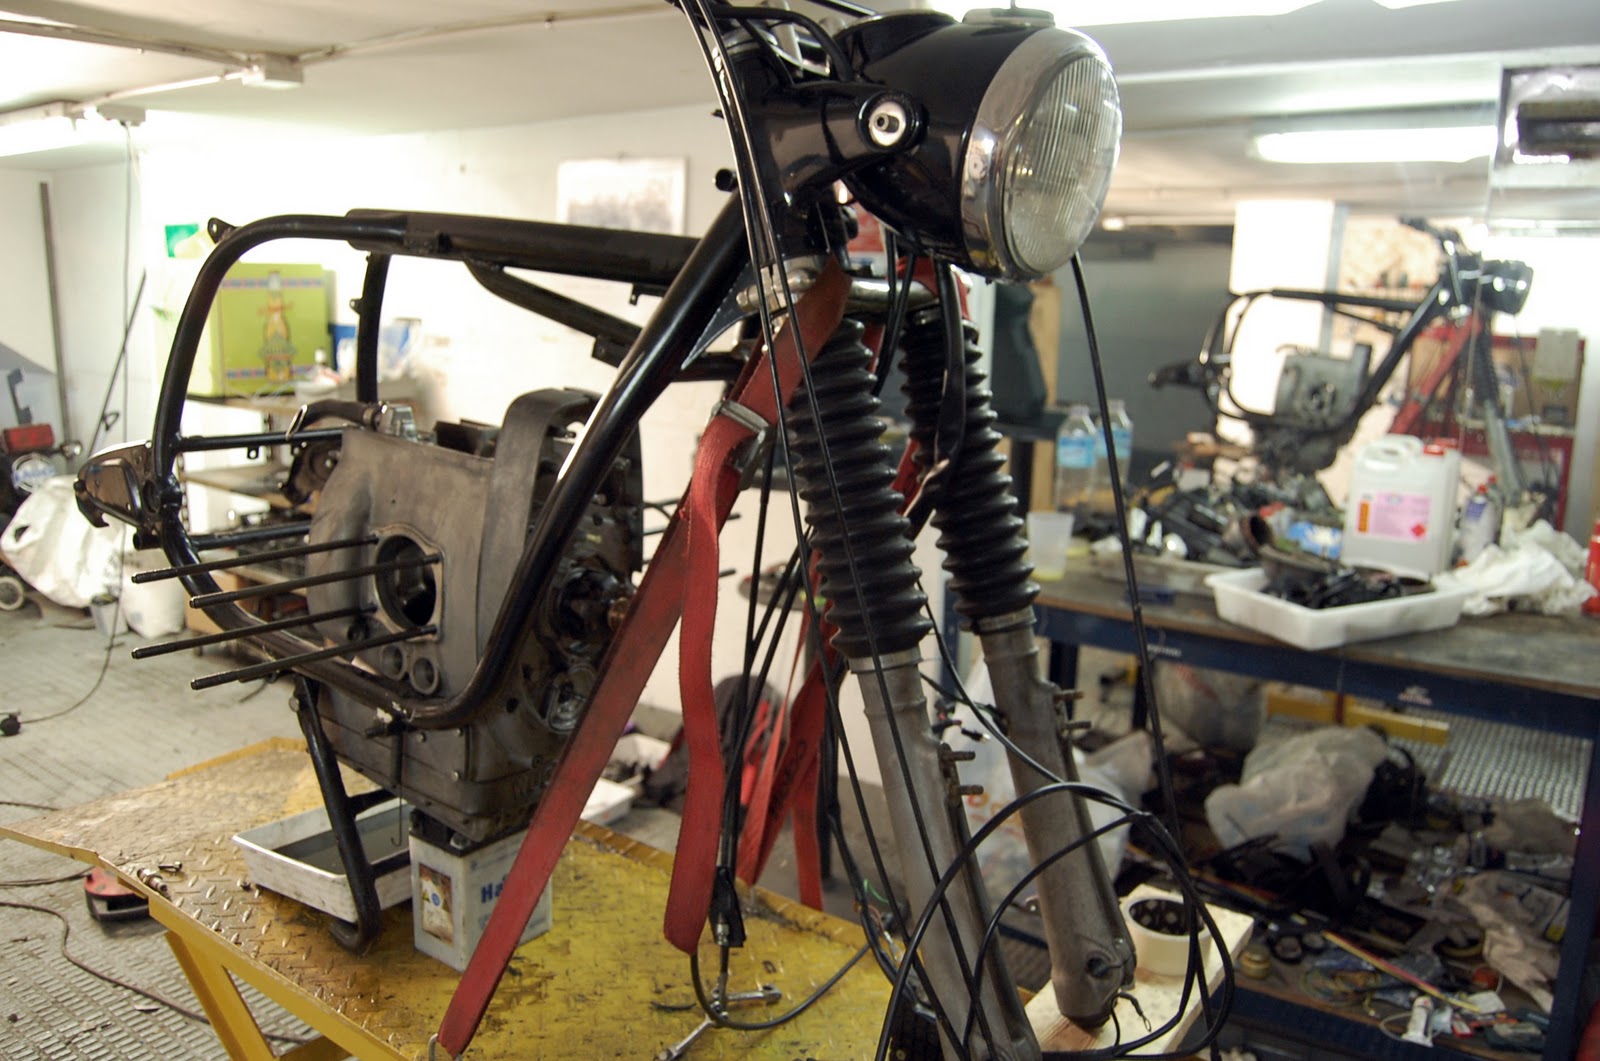
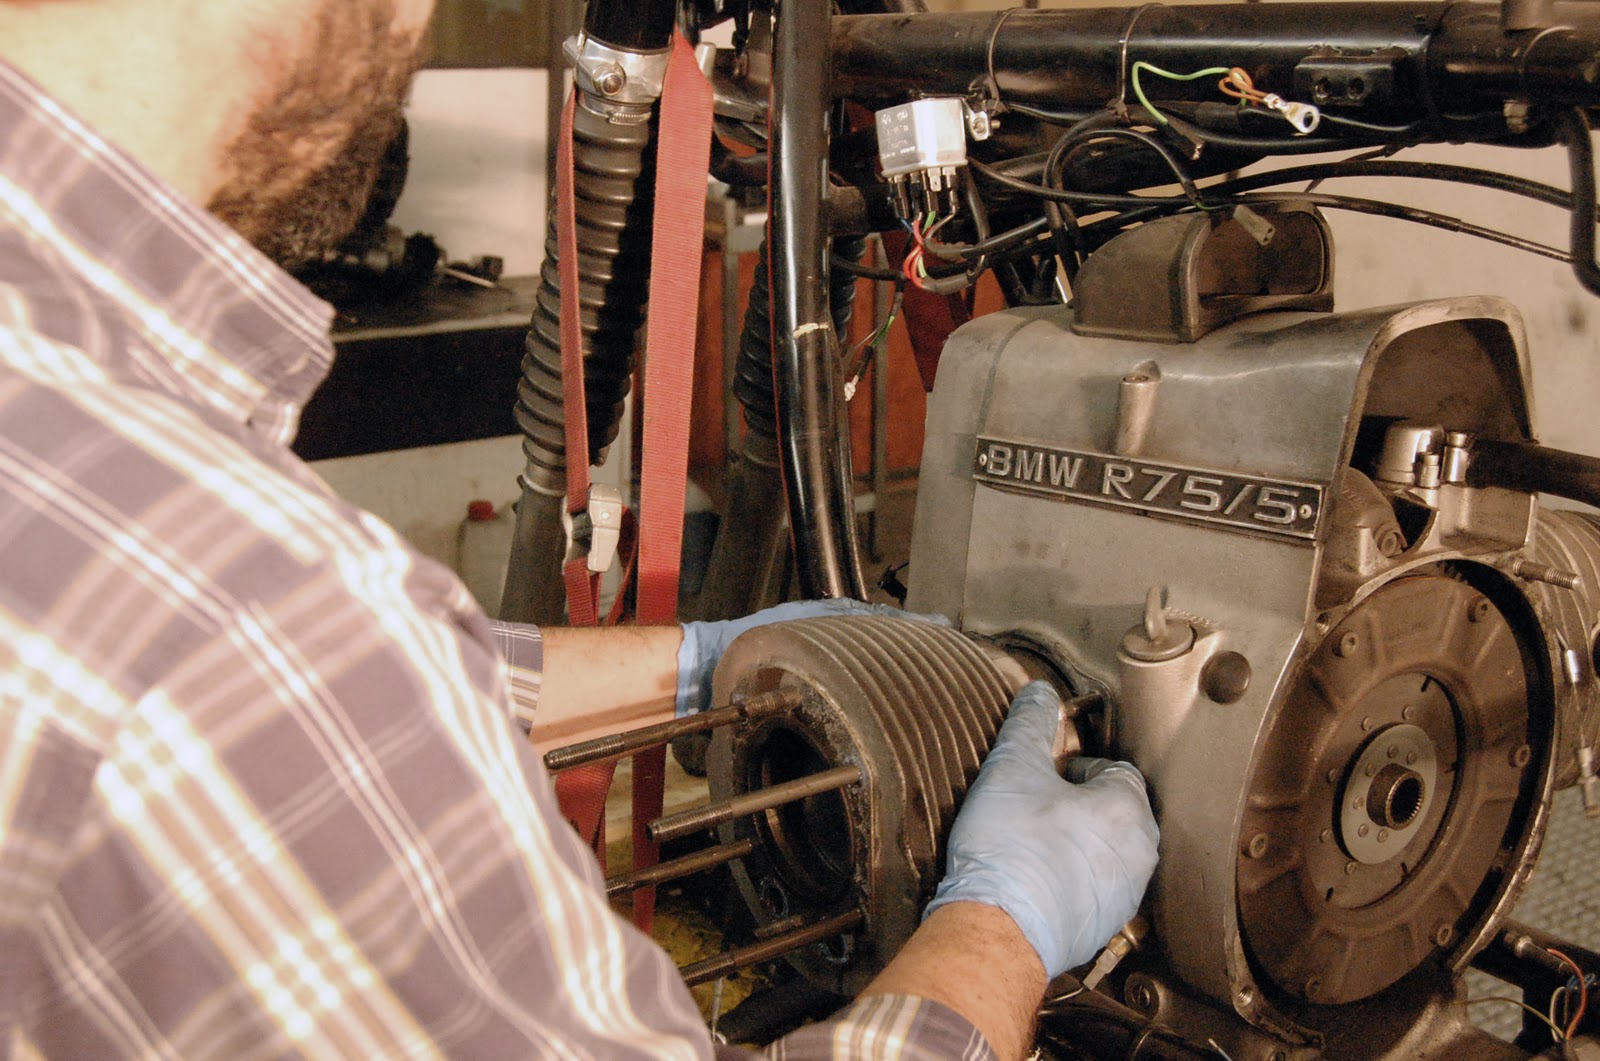
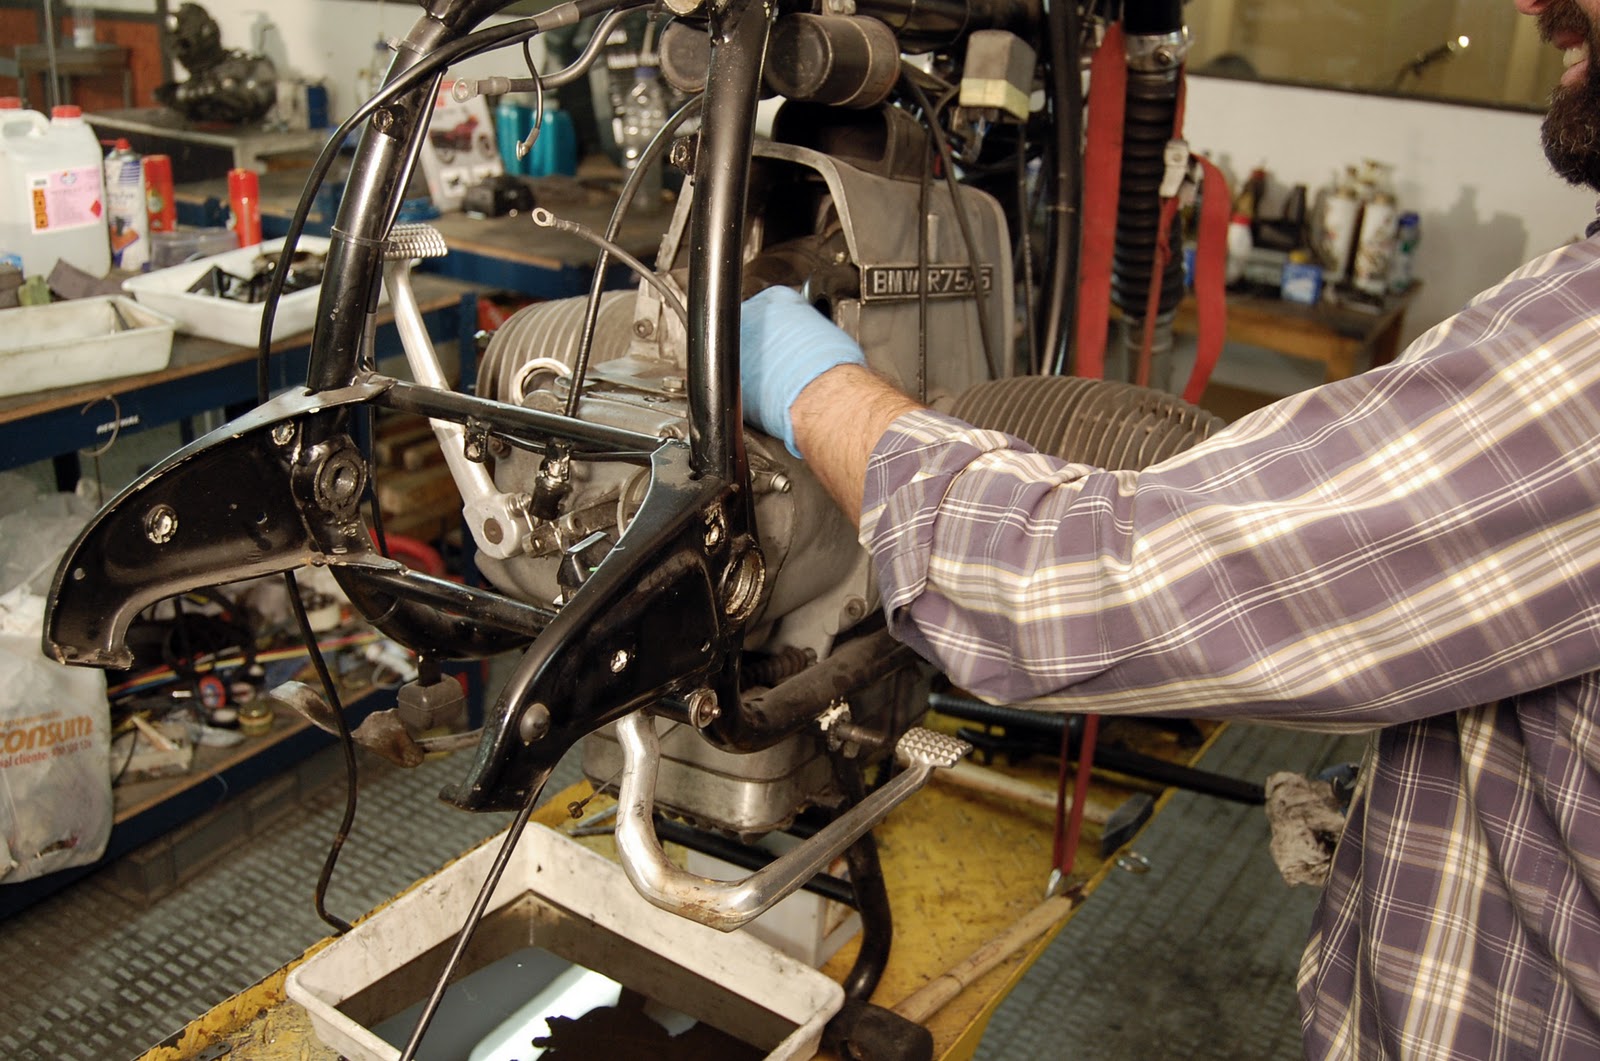
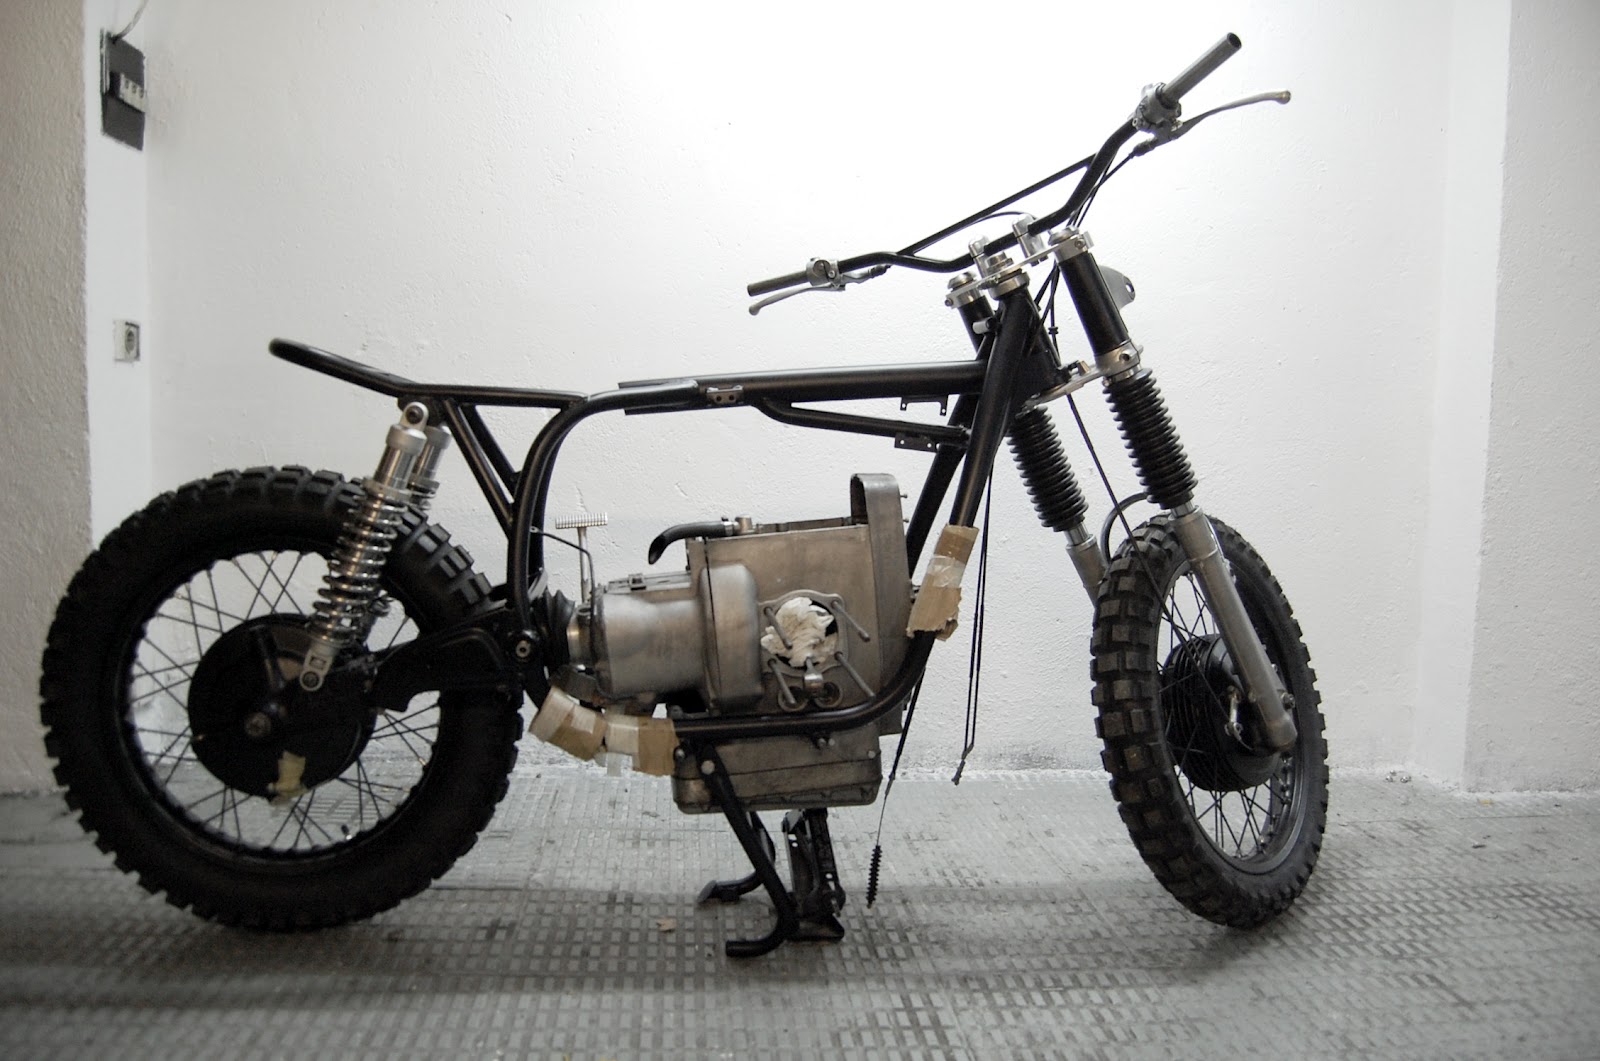
The next step is to finish removing the engine block and to assemble the subframe, swingarm and the unit. By doing this we will be able to put the wheels on the bike and thus be more confortable when working on the bike.
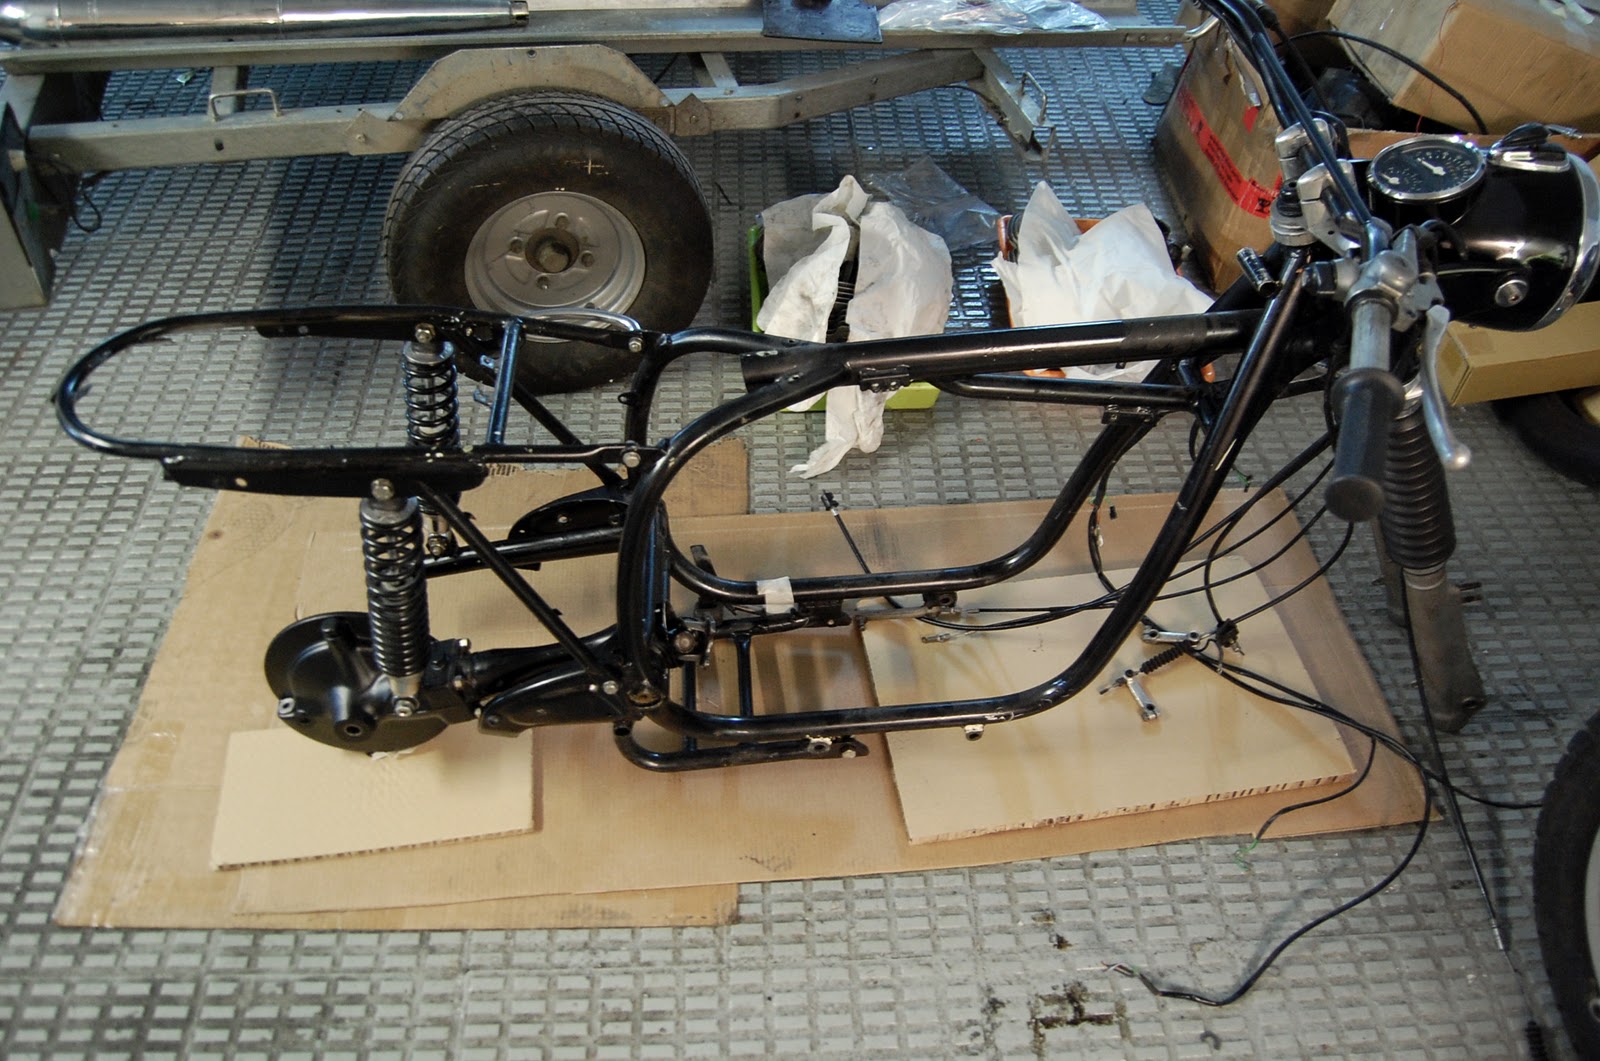
We continue with the assembly of the engine block. CRD14 is starting to take shape little by little.
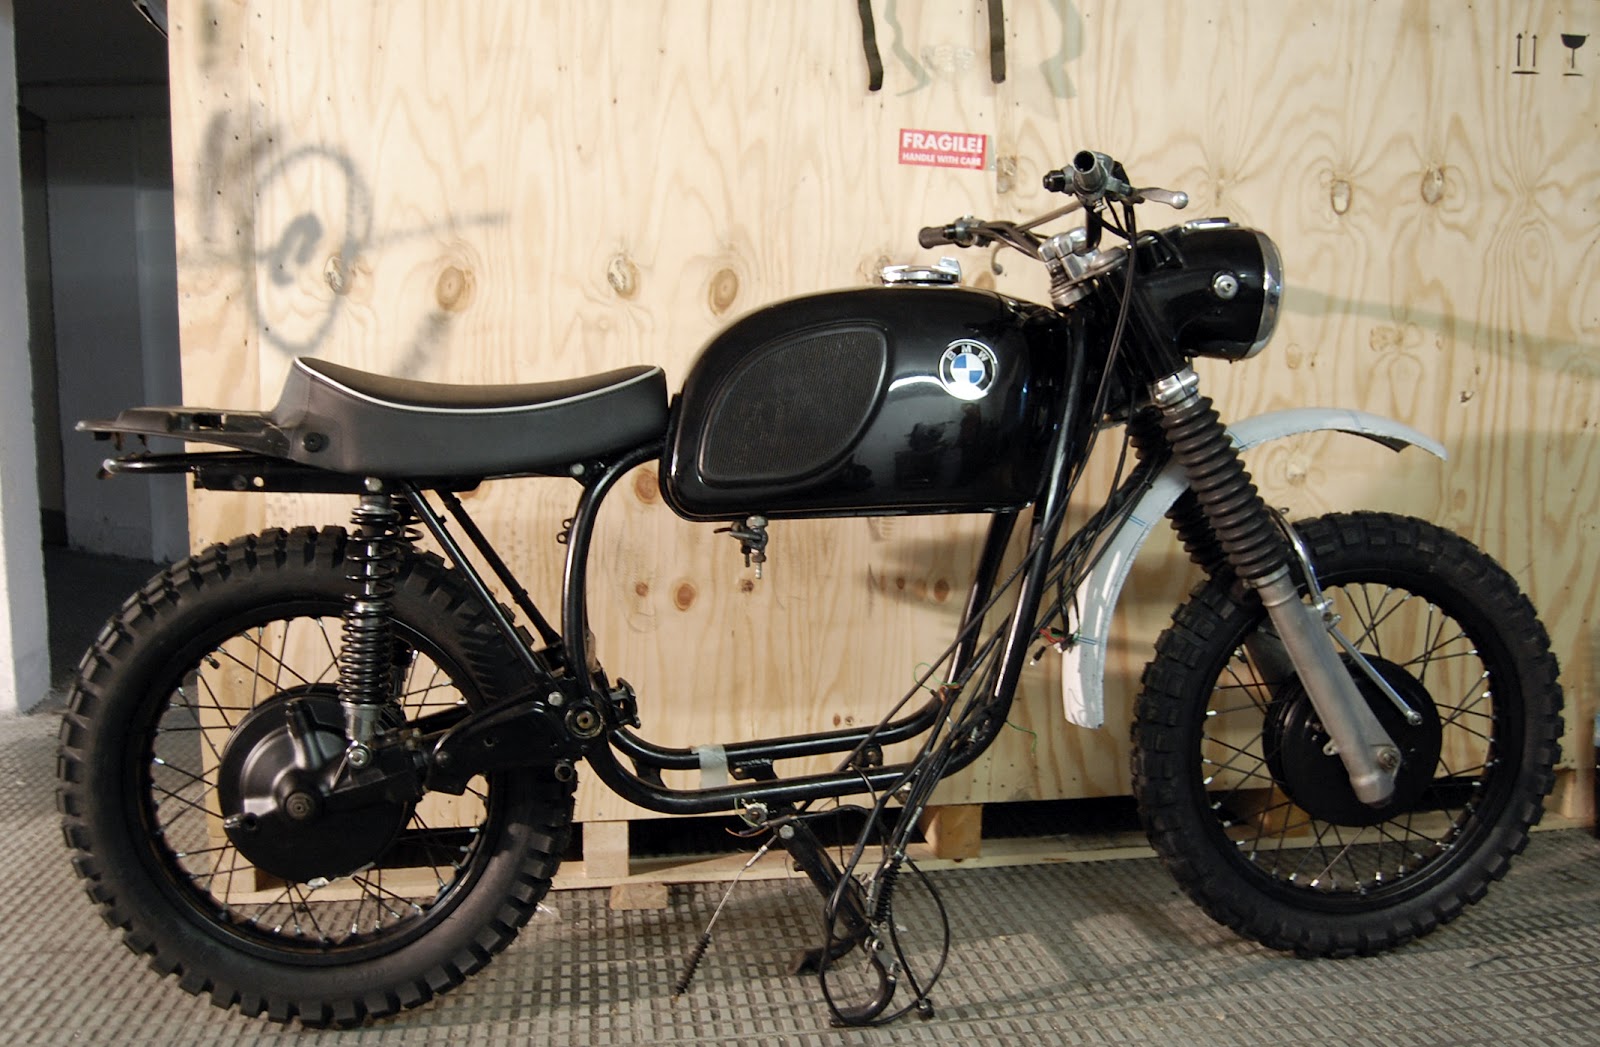
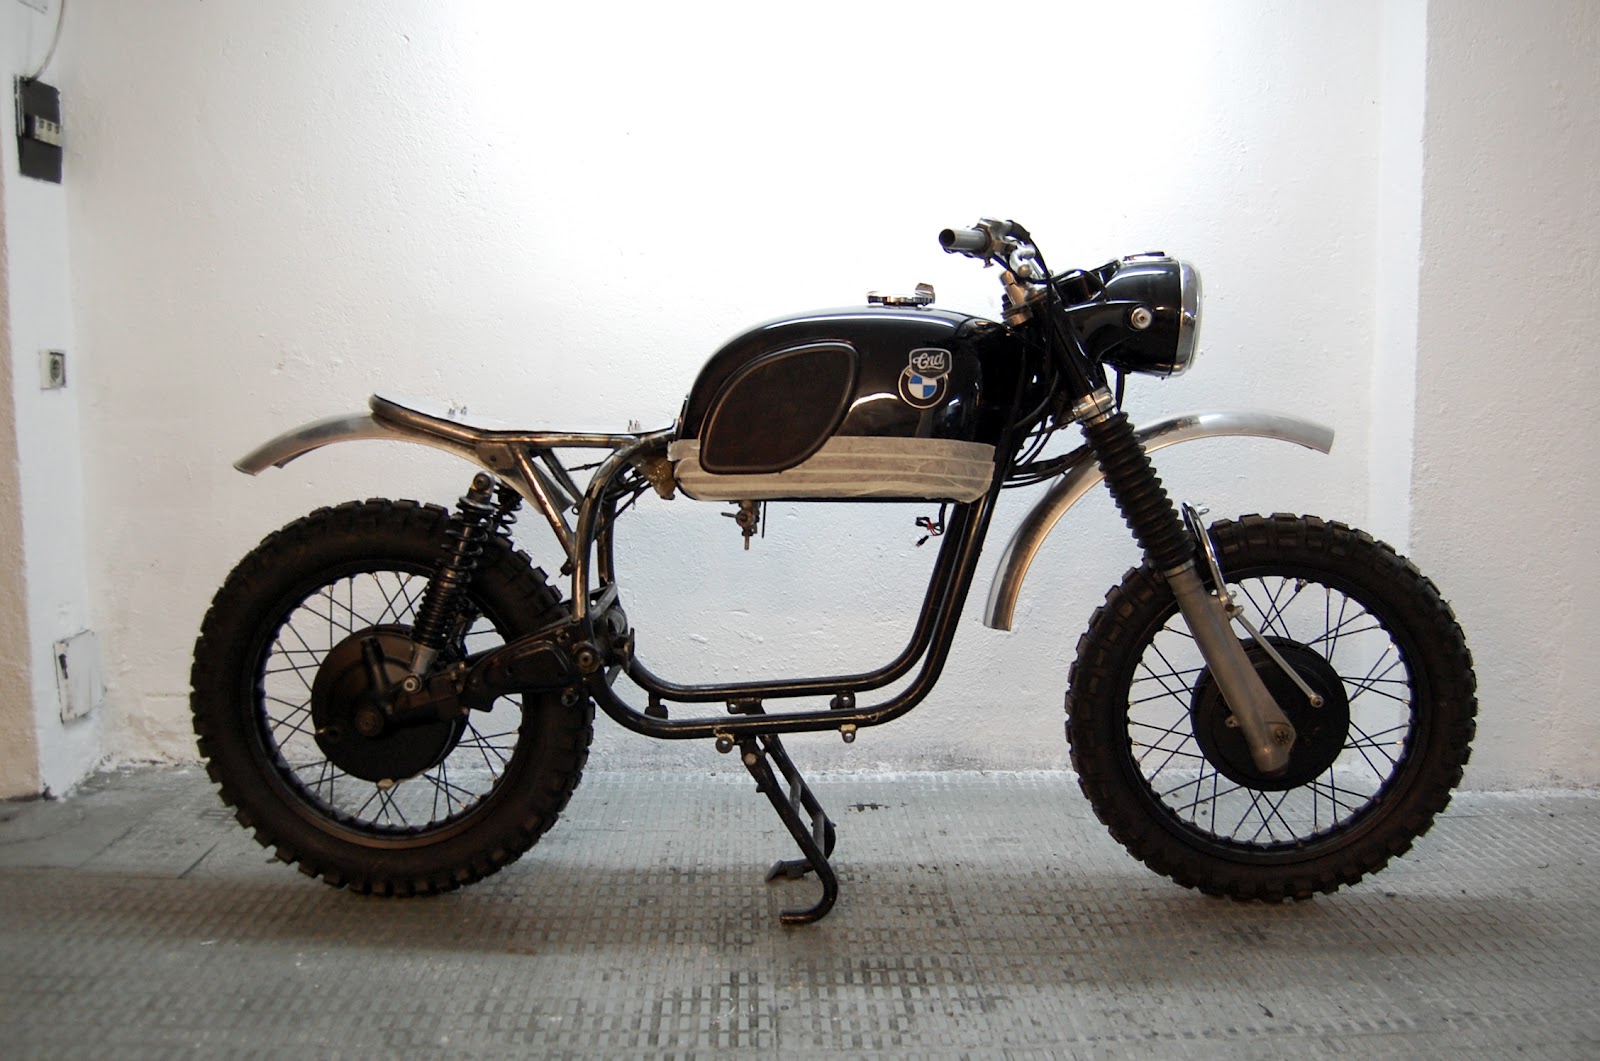
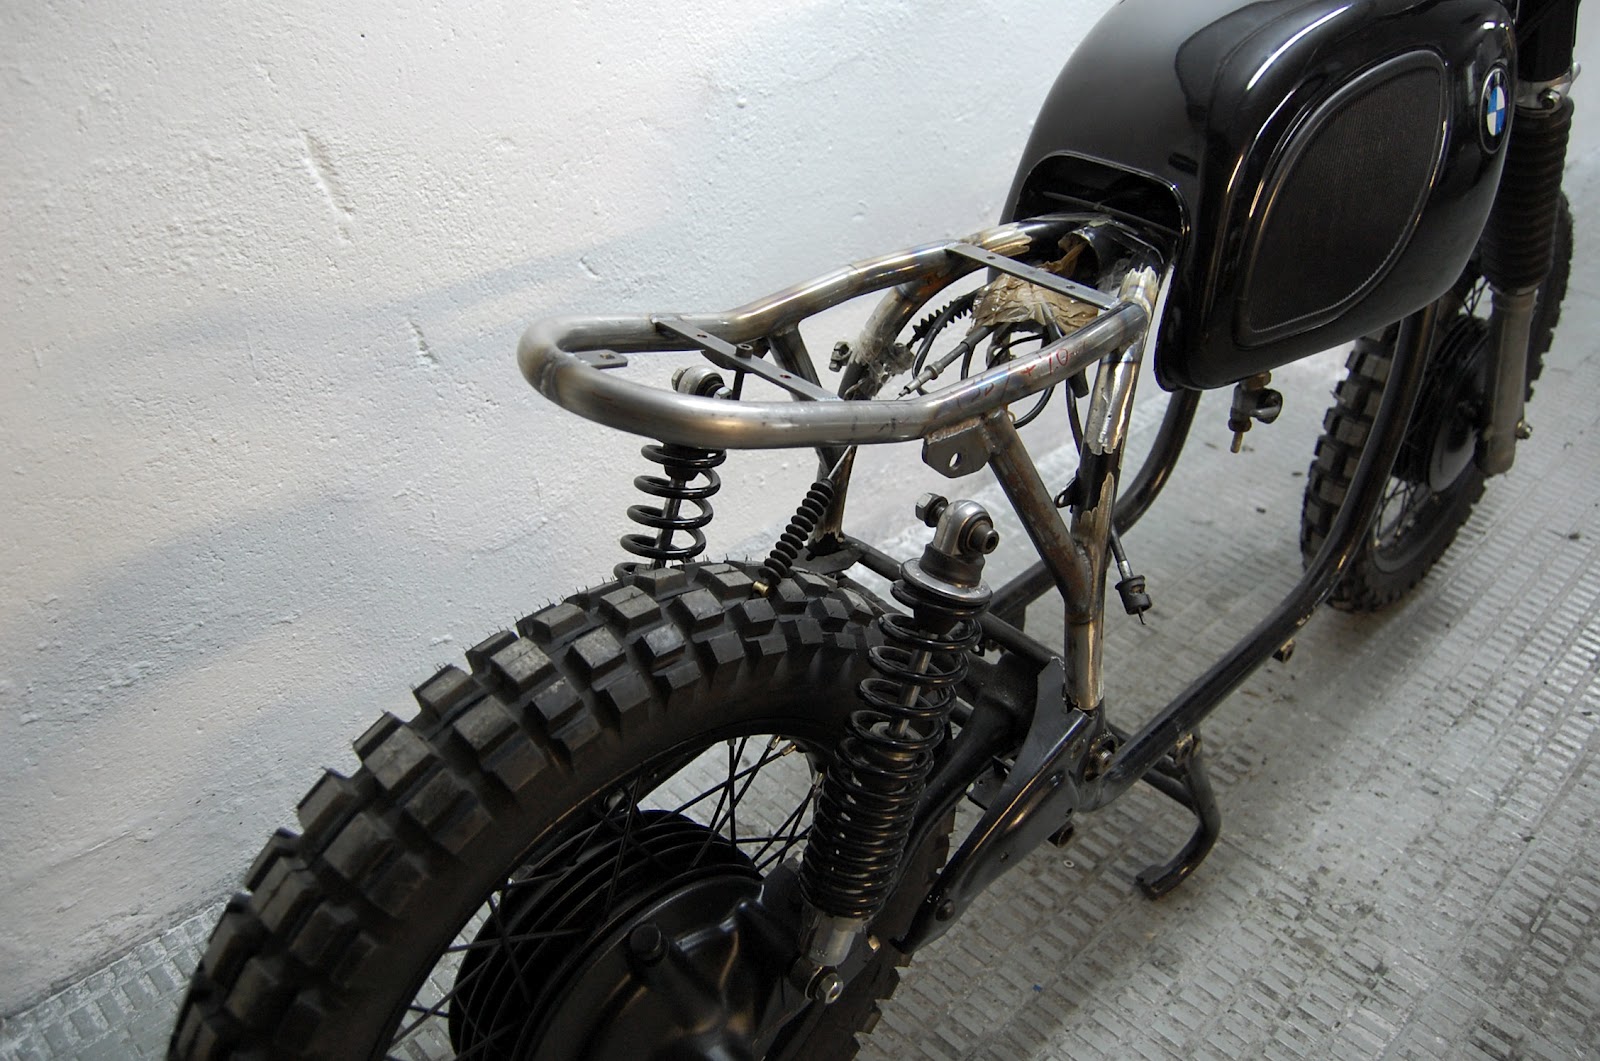
The new handmade subframe raises its height 3.5 cm, and instead of having the original thin tube, it incorporates a tube with similar thickness as the chassis and it also makes its rear much narrower and shorter.
At this point it’s impossible to hide the off-road character of CRD14. Even though the seat posts have not yet being set, the place where the front fender will be located is fixed.
We have also changed the position of the shock absorbers, which will provide the sporty character that we are looking for.
The next step is the complete disassembly of the bike so that all the parts can be painted nicely.
Before completely dismantling the bike, we shaped the foam that the future seat of this beautiful BMW will have. Note that It will be a little thicker than normal as it is an off-road bike.
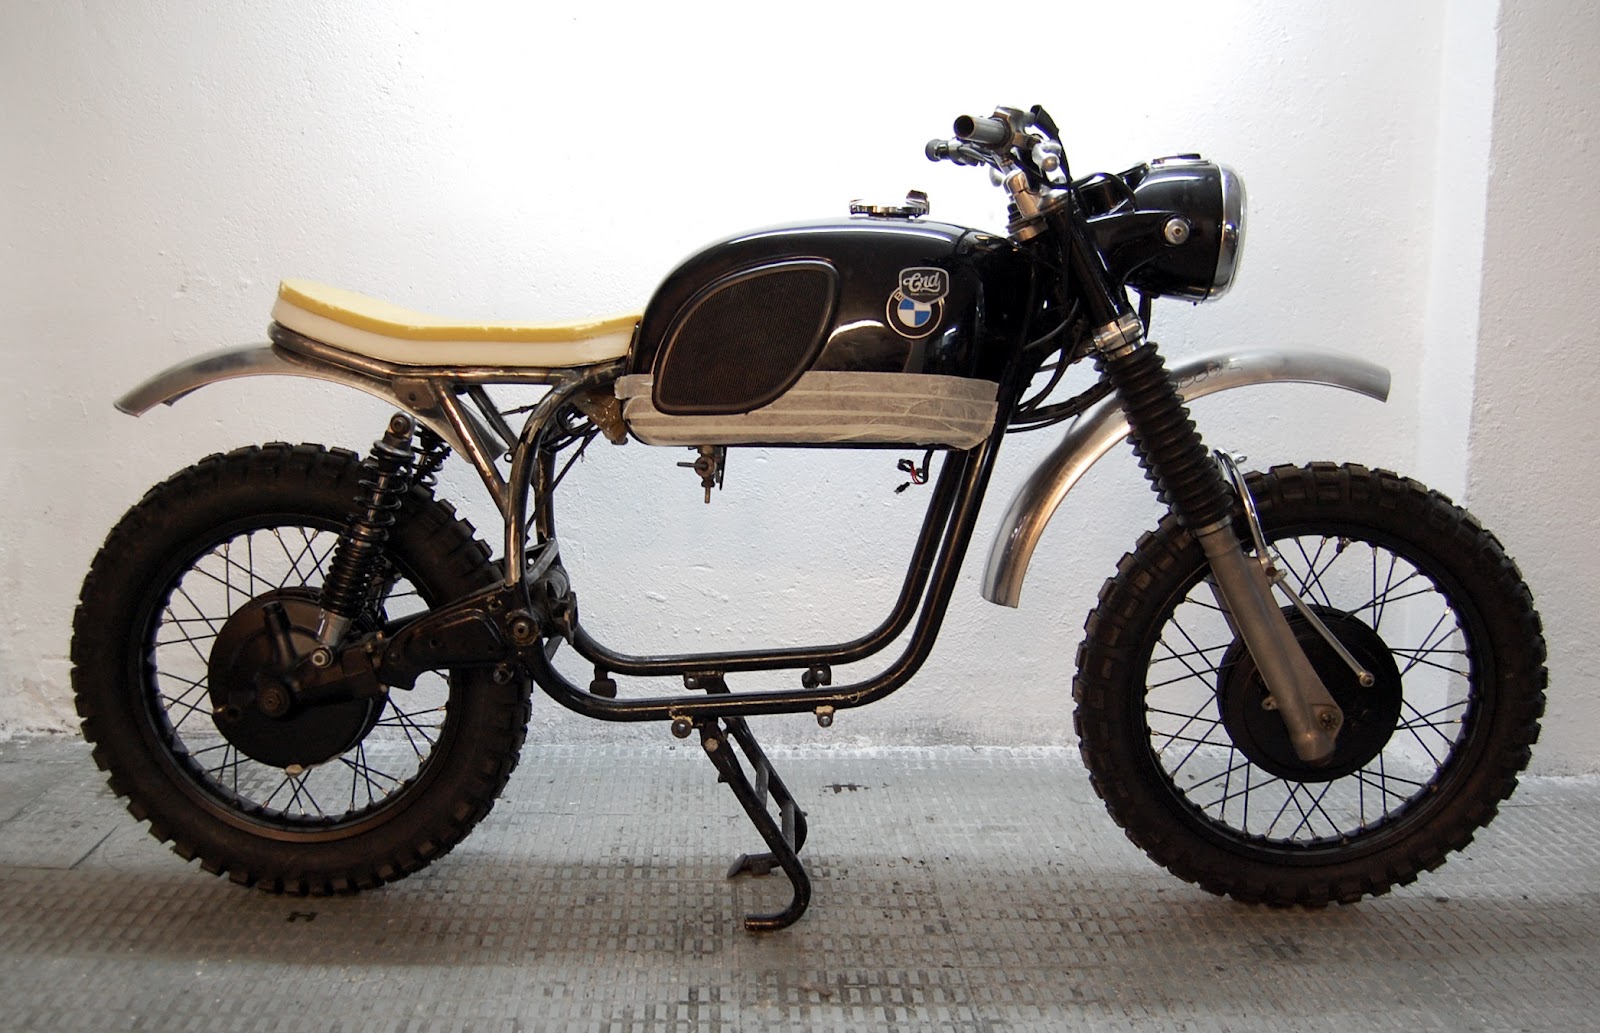
We finally start the assembly of CRD14. Please have in mind that the design of this bike is not subject to the order of any customer and is 100% Cafe Racer Dreams.
We will use a reinforced upper post and for the lower one we will use one that belonged to a BMW GS. This will make it better for riding off road. The Nitro shock absorbers will improve the rear and will be responsible for absorbing the irregularities of the terrain.
This is the first day of the process of how to build a cafe racer in which the bike is on wheels, and not only that, the engine block and gearbox are also in place.
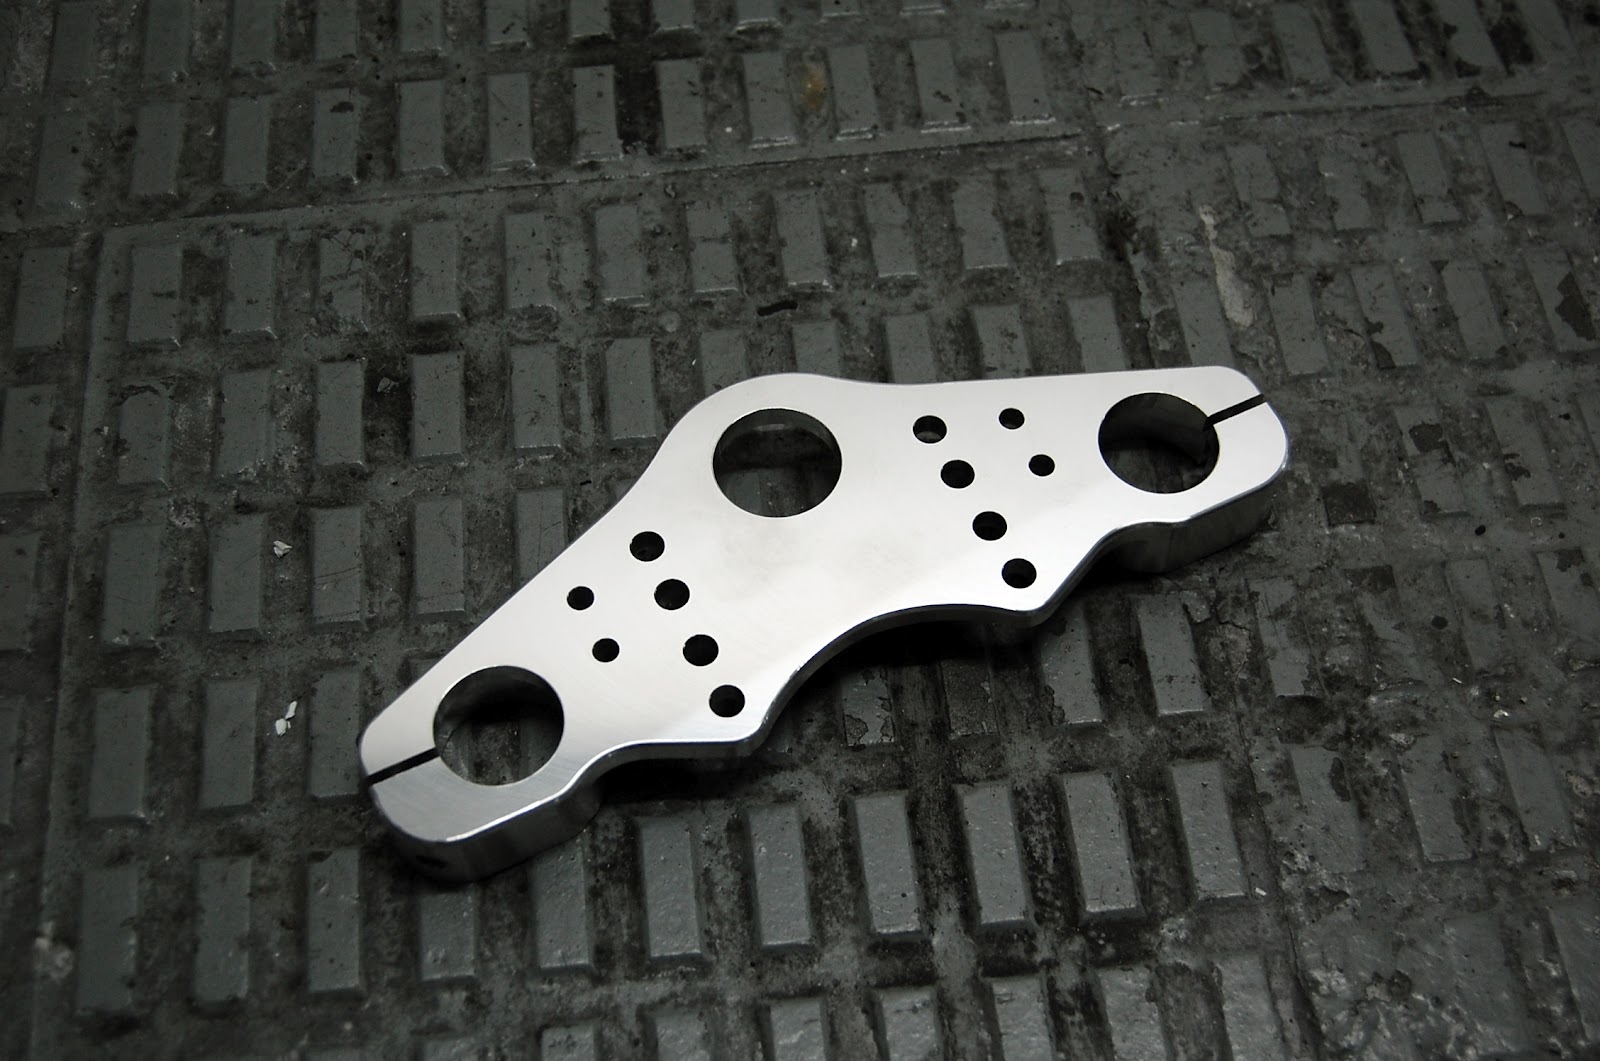
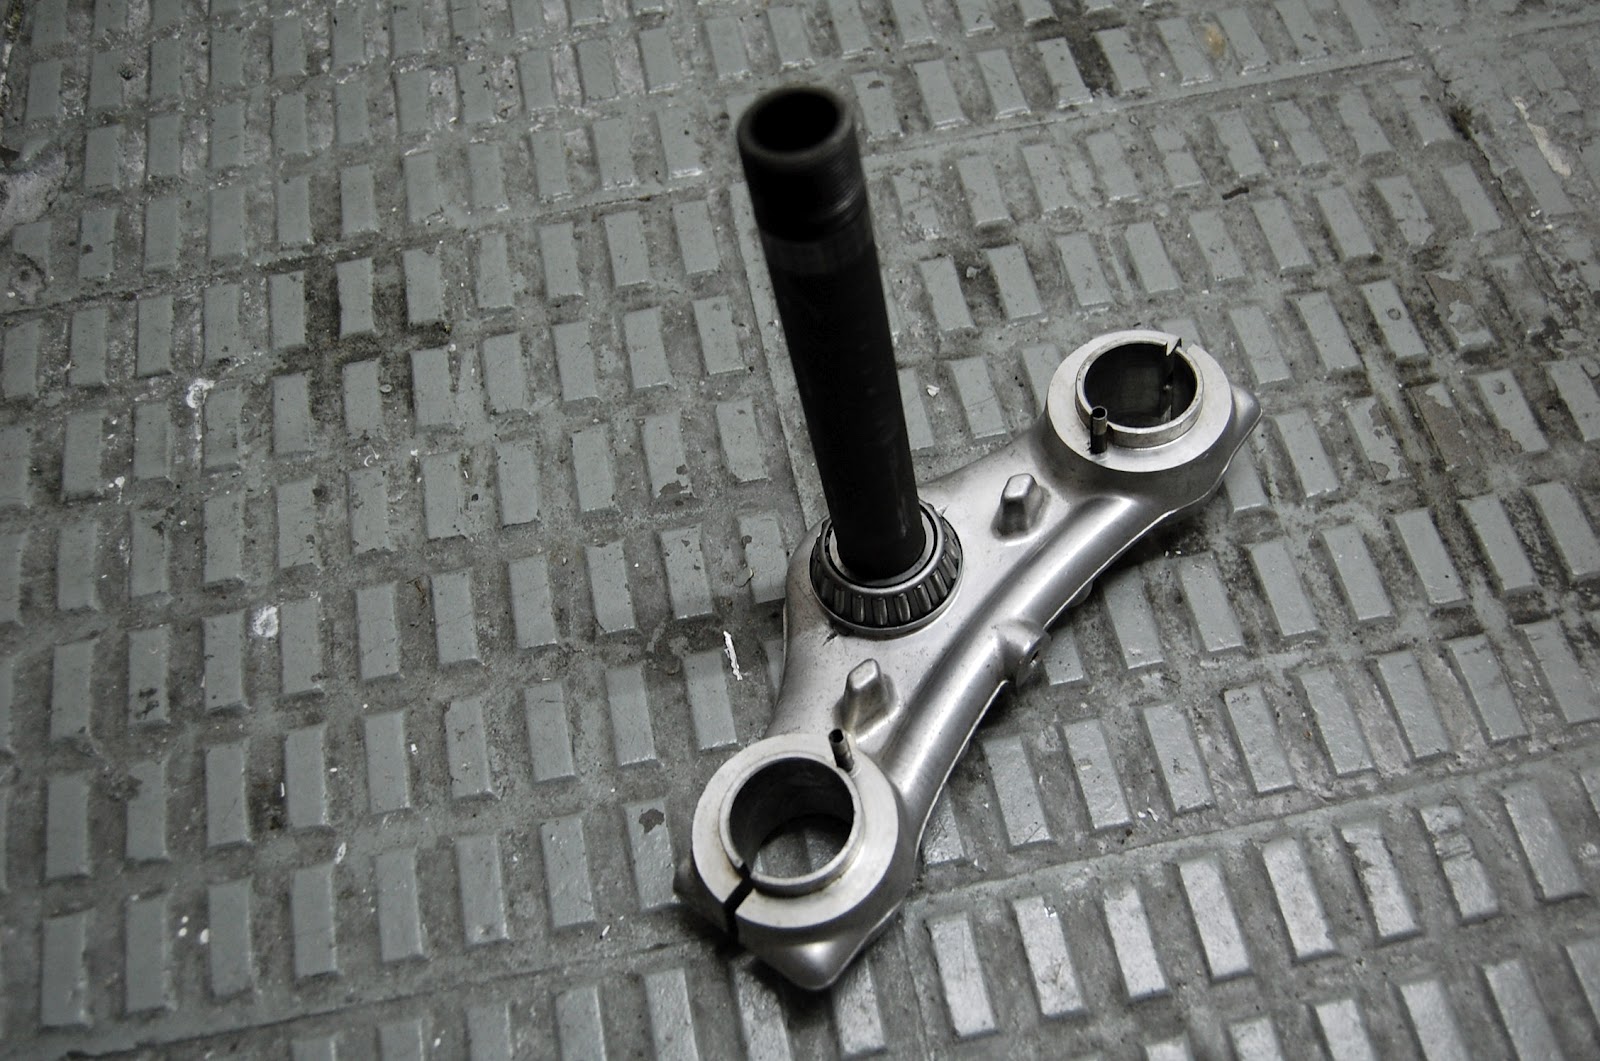
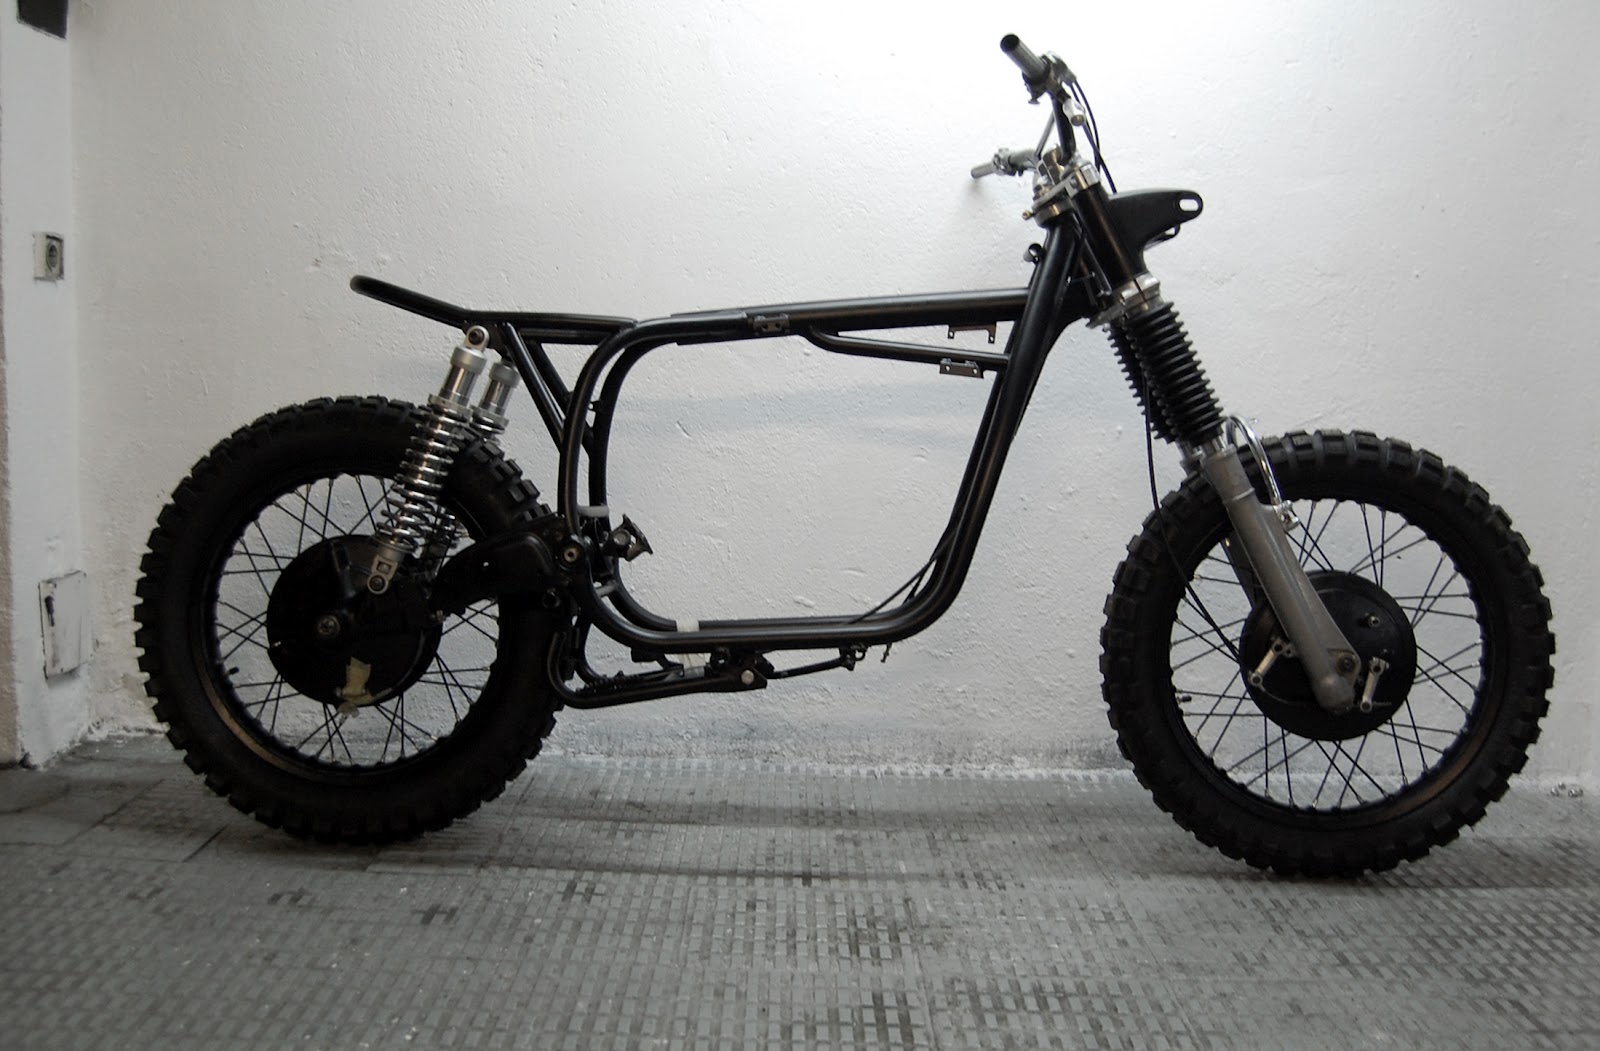
We continue going forward, now the rear brake and most of the electrical system are also in place
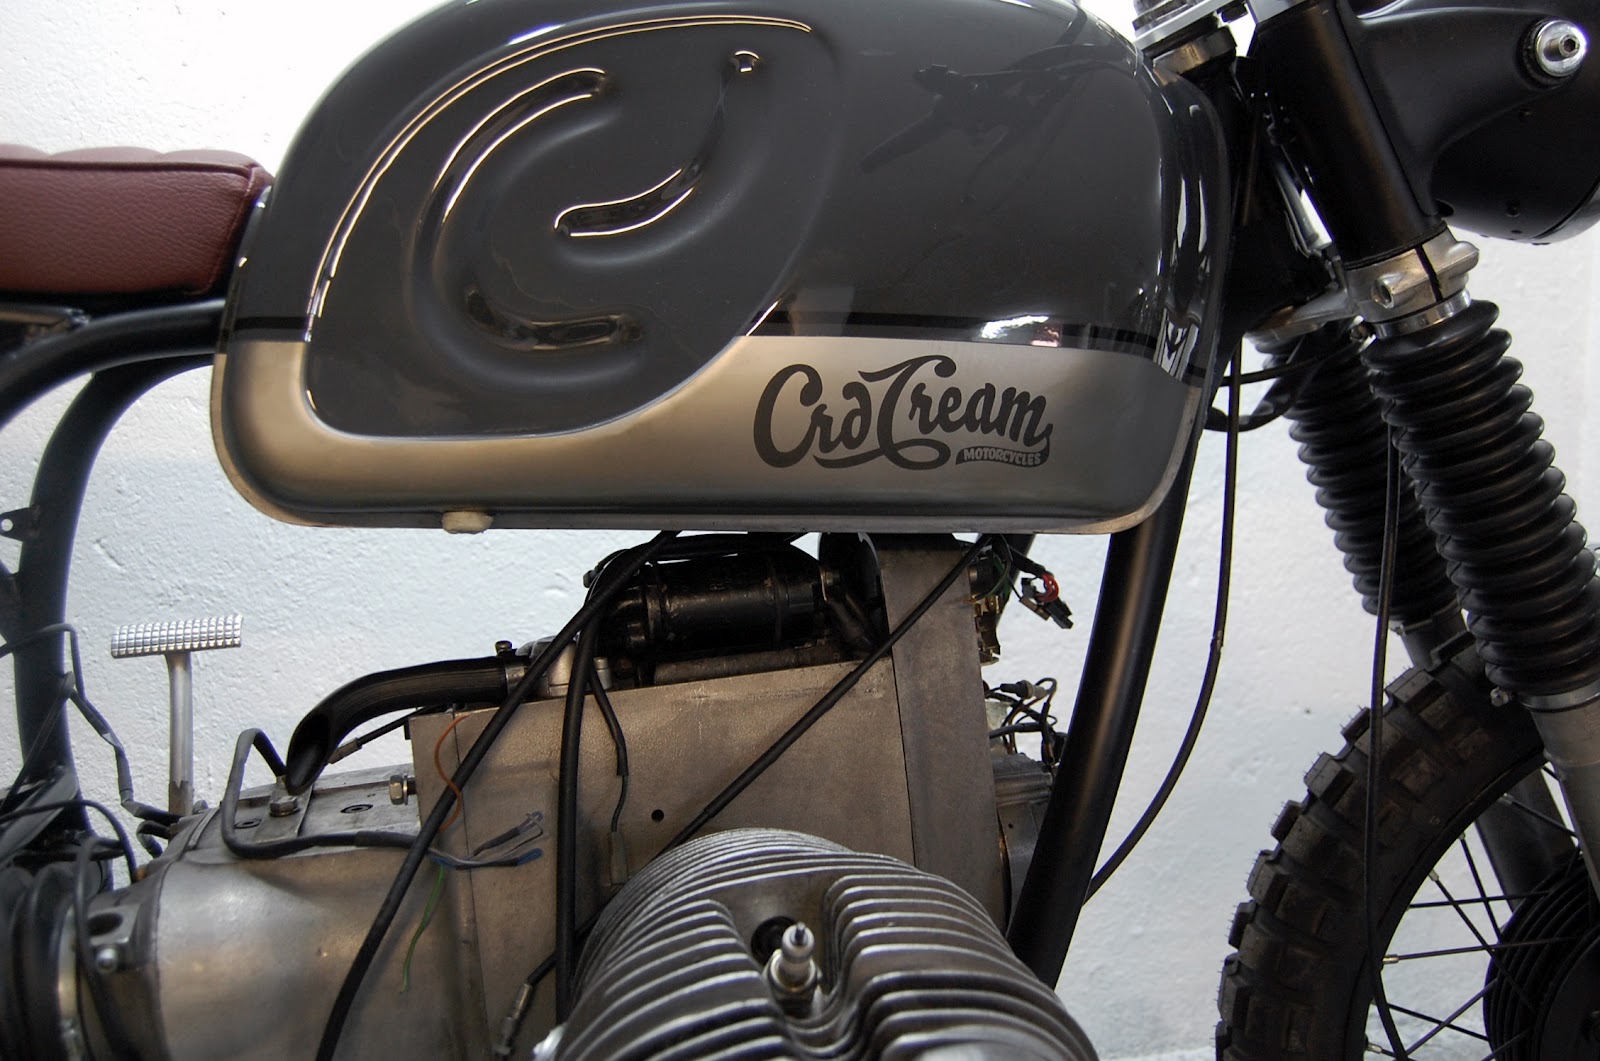
The process of how to build a cafe racer enters its final stages, here we have already painted the gas tank.
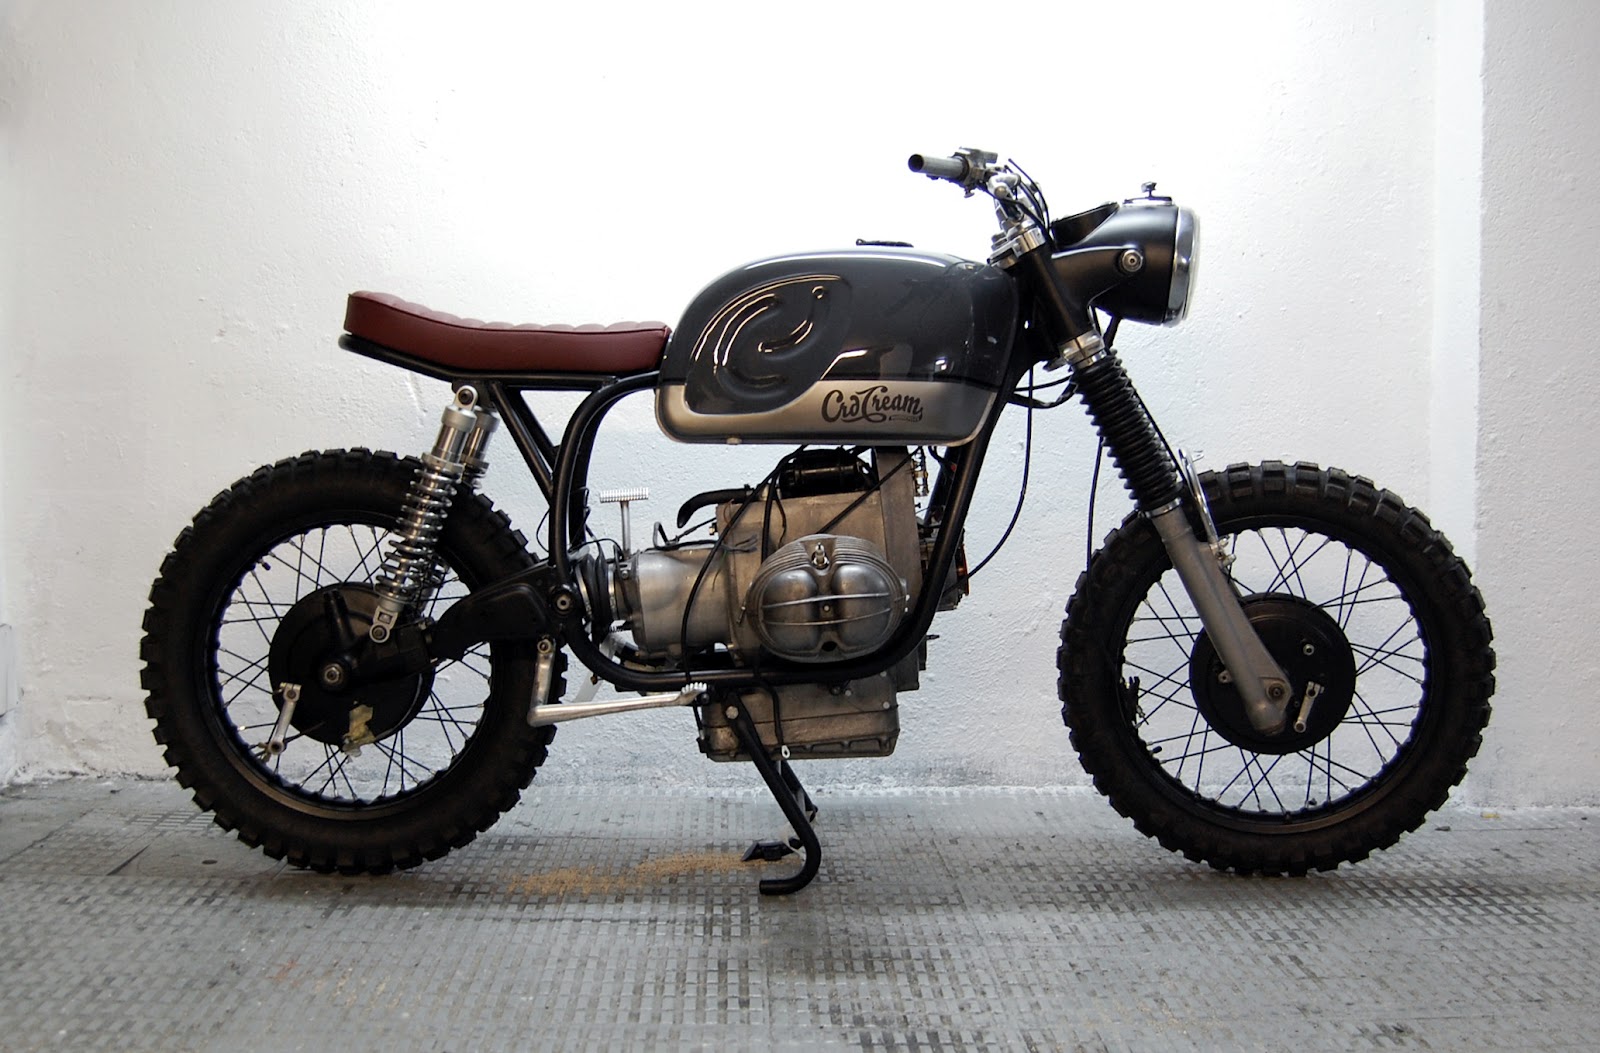
The engine is now closed and the carburetors are fixed. We just have to put the exhaust pipes in place and finish connecting the electrical system.
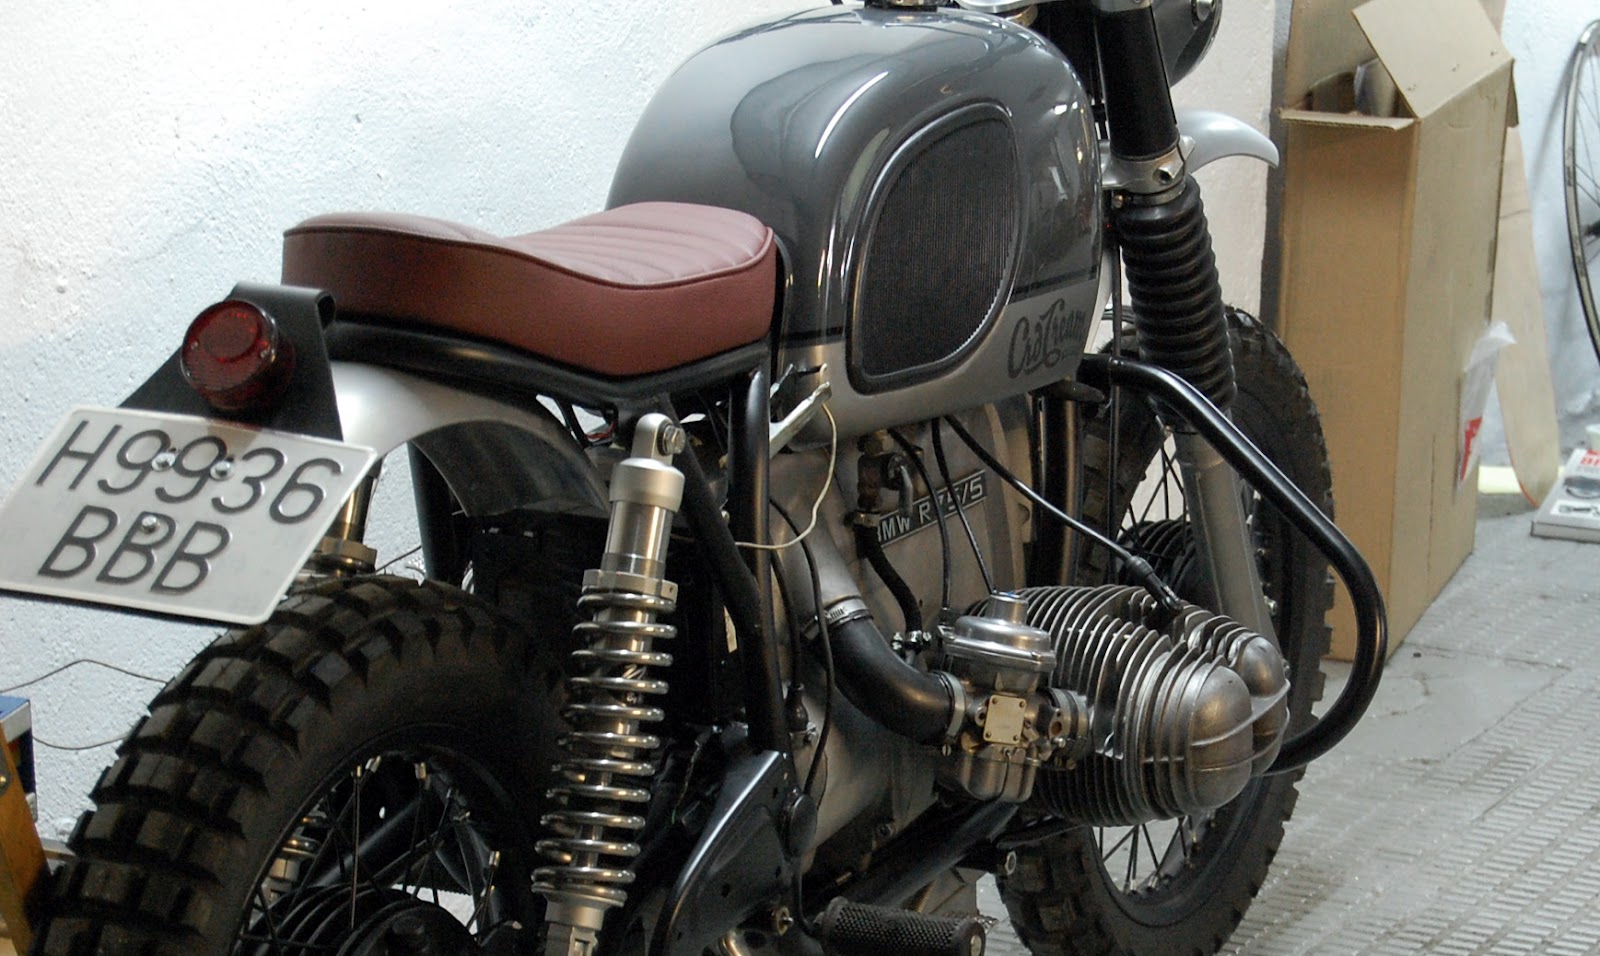
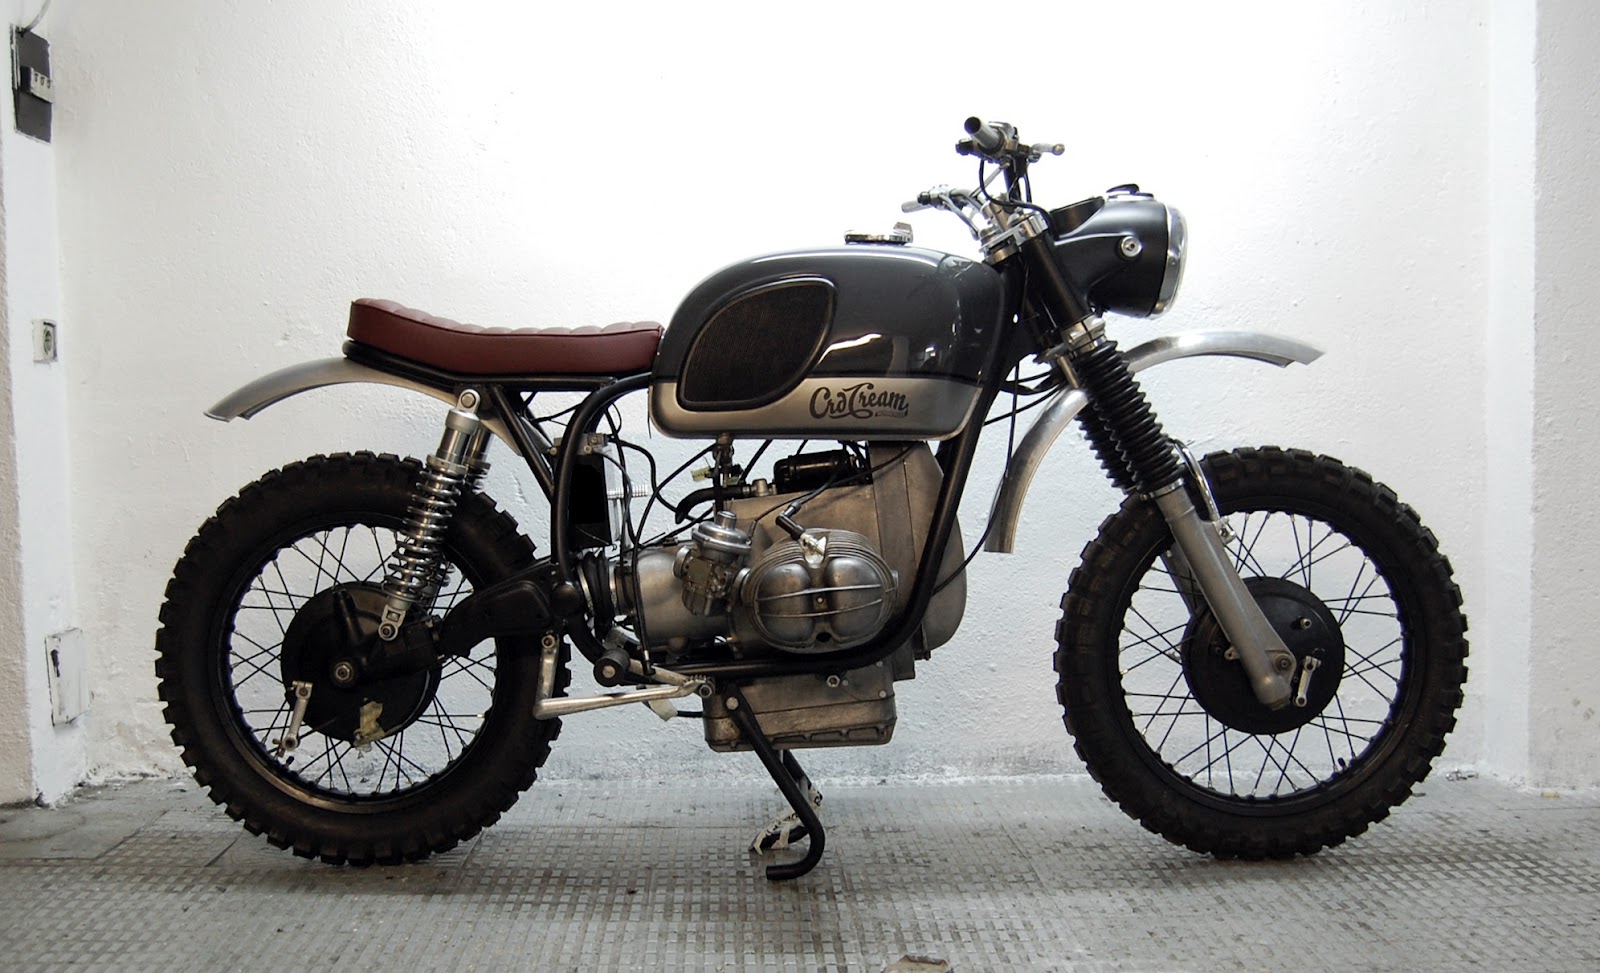
The time has come to start the engine after long months of silence. Without mufflers and only with its original manifolds, the engine broke into life as if it had been running the day before.
We have placed the fenders and the rest of the engine covers in it as well.
It lacks the handcrafted mufflers that will be built by Escapes GR, the crankcase cover and some small details, such as the handgrips in the color of the seat.
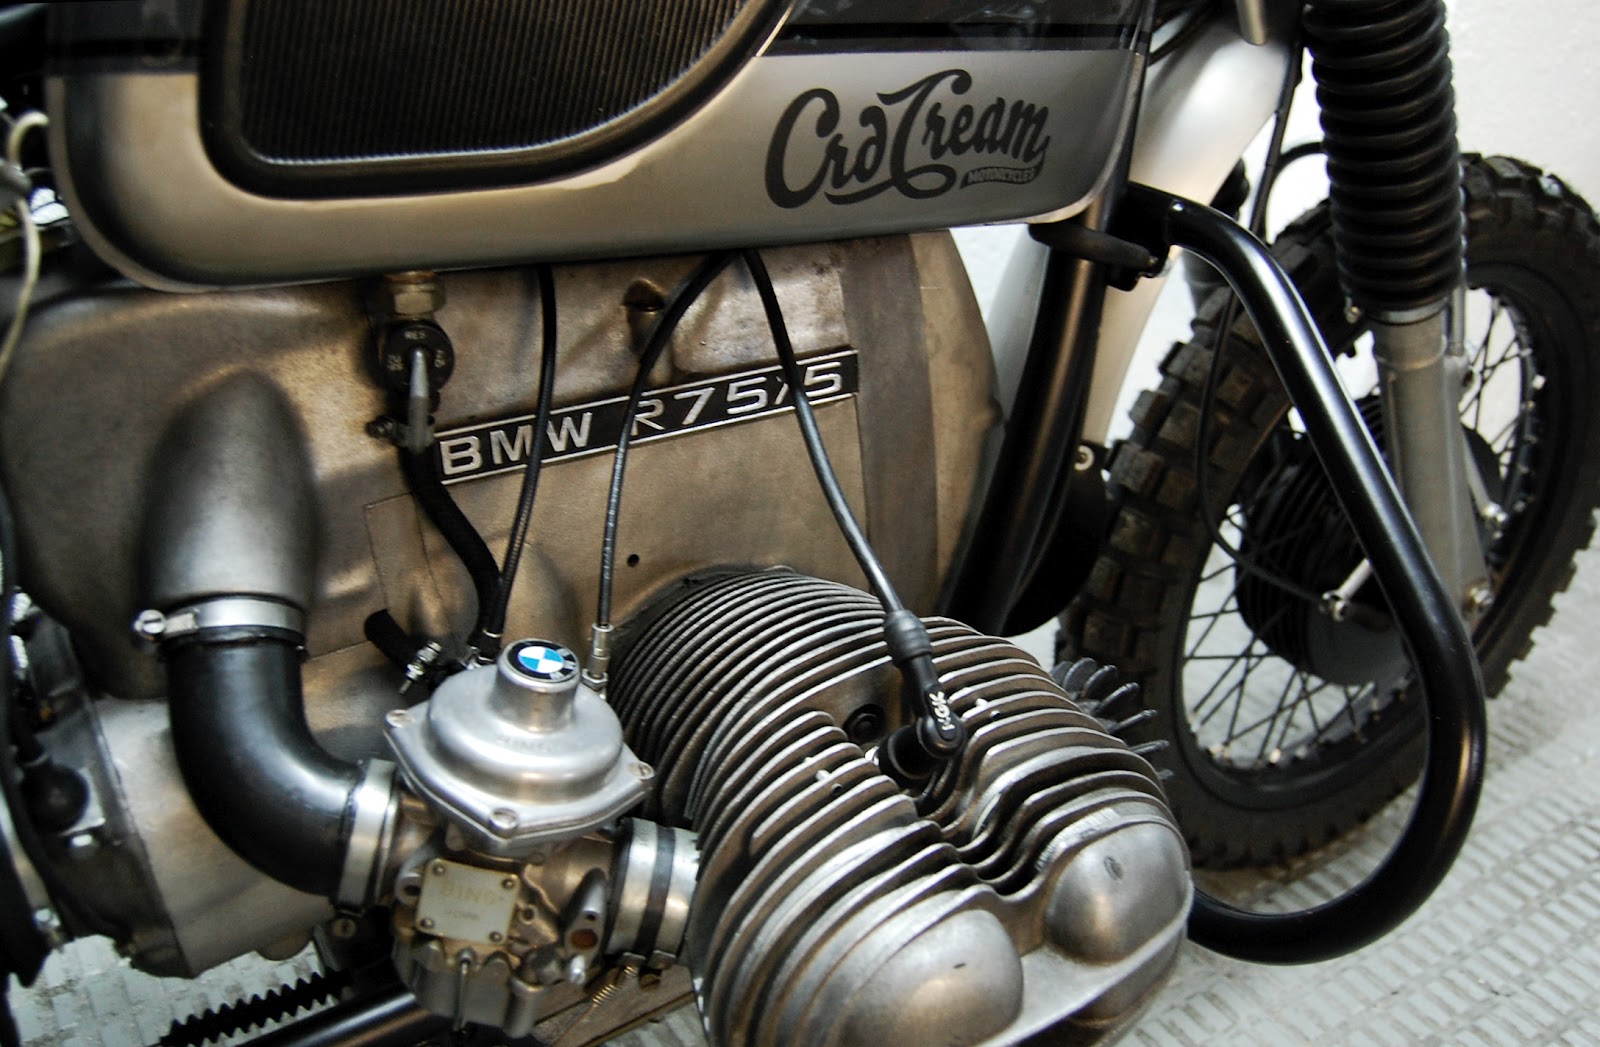

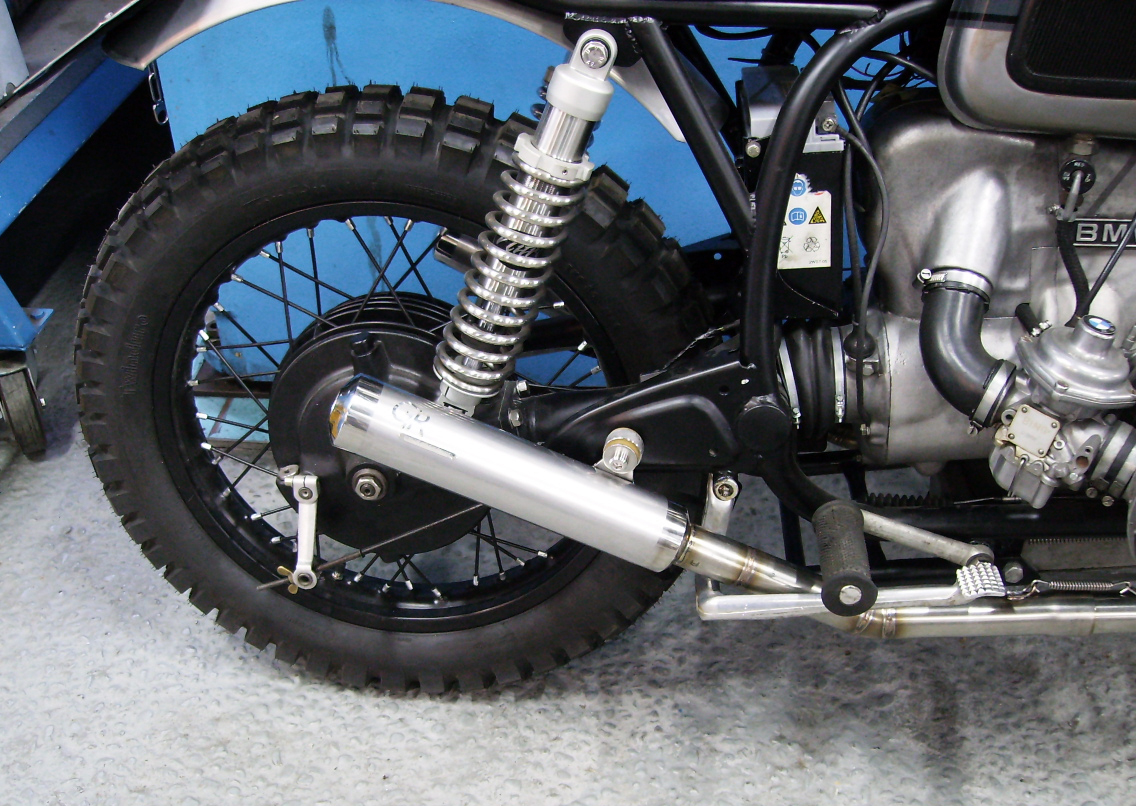
Here the bike finally has the 2 in 2 exhaust pipes handmade by Escapes GR.
At first, the design was traced from above, but finally we decided to take them from below to make them more practical in every sense. In addition, aesthetically they don’t take the protagonism away from the brand-new shock absorbers.
We just have to readjust everything and the bike will be ready to go.
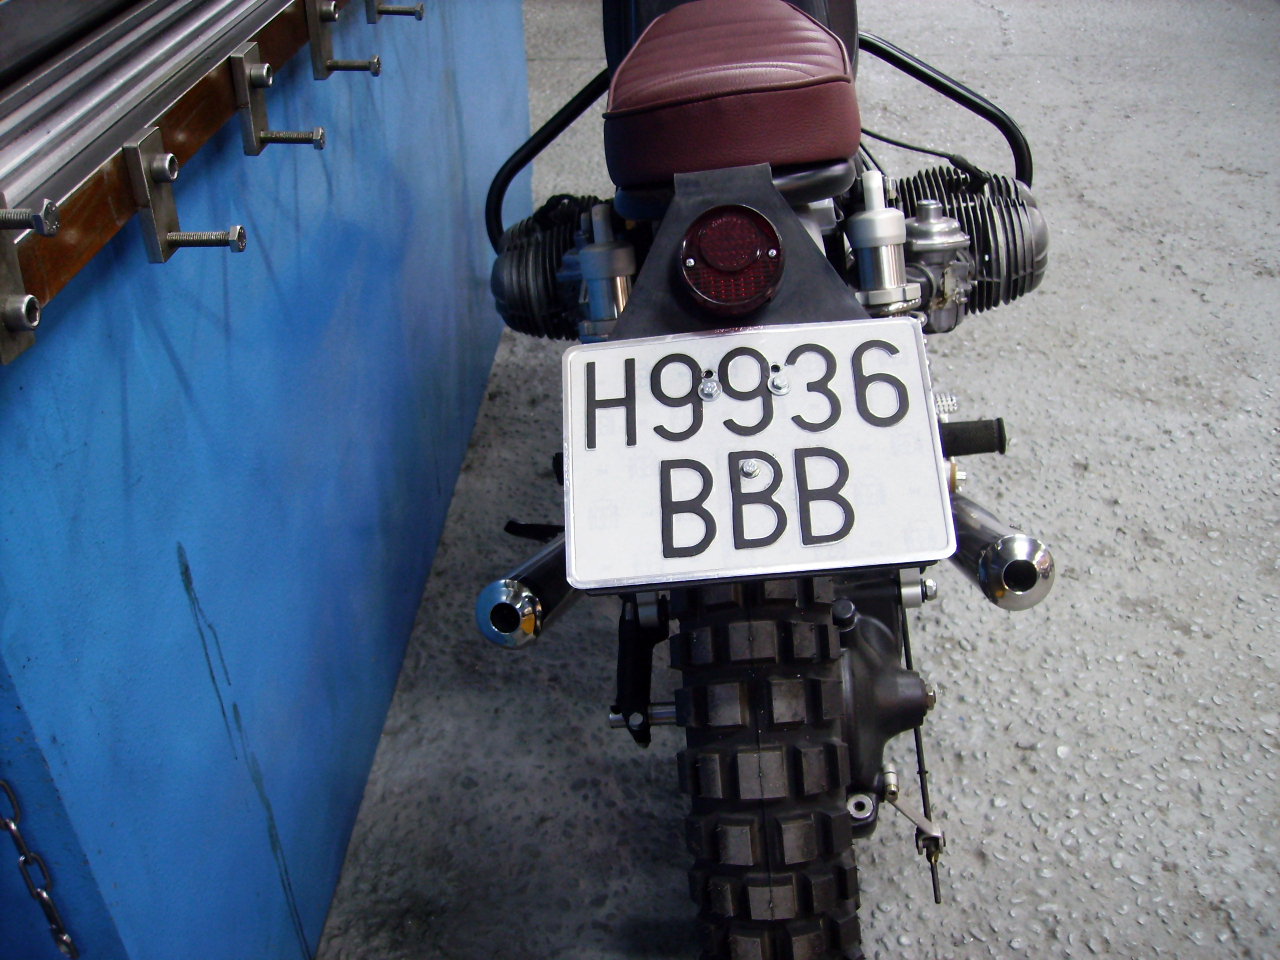
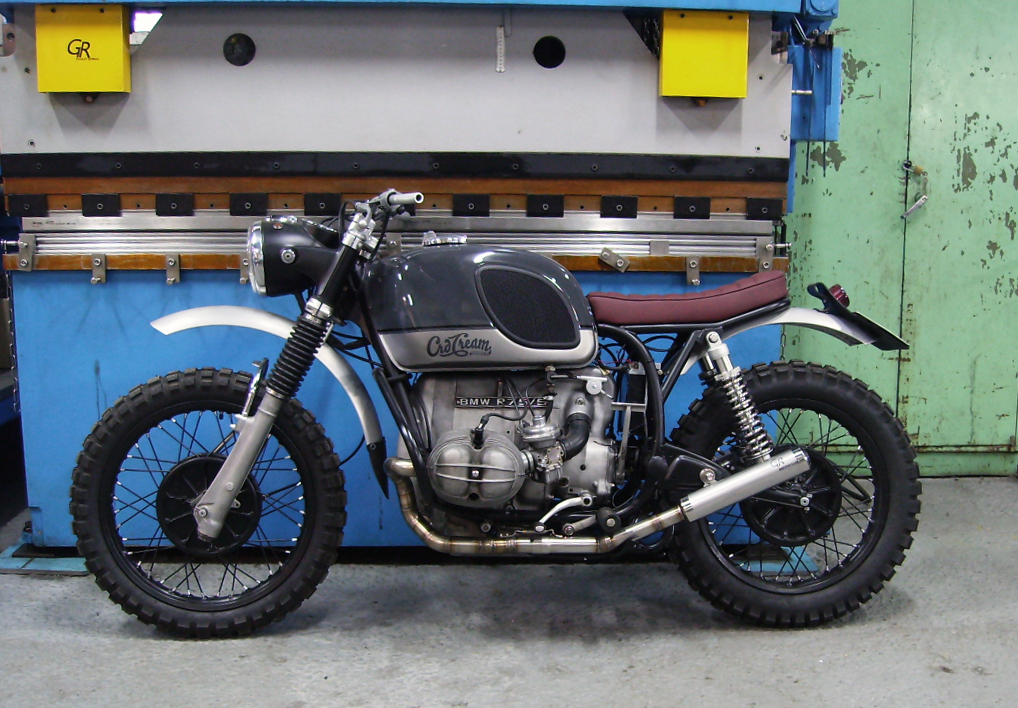
And here ends this little tutorial on how to build a cafe racer. A project done with total freedom when choosing the design, colors and components by Cafe Racer dreams.
This bike had a great presentation in BikeExif.
